Configuring User Mappings
User mappings state the relationship between Acunetix 360 and the integrations in use. If you want to assign an issue to a user in one of Issue Tracking Systems, you must first add a user mapping for that integration. This enables Acunetix 360 to recognize the user in that integration space.
For example, if you want to assign an issue in JIRA to a developer who pushed a commit to Jenkins CI:
- You must declare two mappings – one for Jenkins and another for JIRA. This ensures that Acunetix 360 matches the Jenkins user to the Acunetix 360user.
- Once you define the mappings, you can then configure the Assigned To property in the New Integration window for that developer. If a developer's commit later creates a vulnerability, then after a scan, that vulnerability will be assigned to the same developer.
User Mappings must be unique. If you attempt to add a user mapping that has the same Integration System and user as an existing mapping, you will encounter an error.
You can add as many user mappings as you want. Users with Administrator permissions will be able to manage all other team members' user mappings.
For further information, see What Systems Does Acunetix 360 Integrate With?.
How to Configure a User Mapping
- Log in to Acunetix 360.
- From the main menu, select Integrations > New User Mapping.
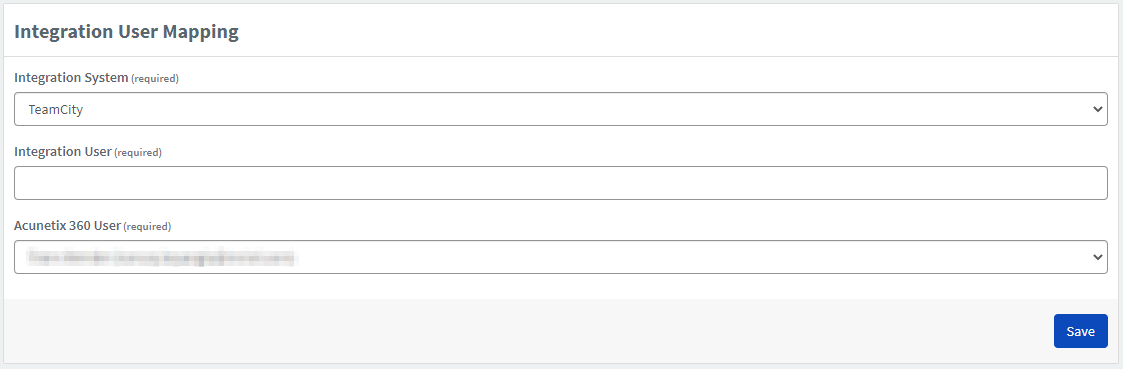
- From the Integration System drop-down, select the relevant system.
- In the Integration User field, enter the username used in the system you selected above.
- From the Netsparker Enterprise User drop-down, select the relevant username.
- Select Save.
How to Clone a User Mapping
- From the main menu, select Integrations > Manage User Mappings.

- Next to the relevant user mapping, select Clone.
- Complete the fields (see How to Configure a User Mapping).
- Select Save.
How to Edit a User Mapping
- From the main menu, select Integrations > Manage User Mappings.
- Next to the relevant user mapping, select Edit.
- Complete the fields (see How to Configure a User Mapping).
- Select Save.
How to Delete a User Mapping
- From the main menu, select Integrations > Manage User Mappings.
- Next to the relevant user mapping, select Delete.
- From the Delete User Mapping dialog, select Delete.