Overview of Scan Policies
A Scan Policy is a list of web application security scan settings. When you want to run a scan, you attach it to a Scan Policy.
Even though Acunetix 360 is an online web application security service, it is also a fully configurable web application security scanner. Every aspect of a security scan can be configured using a Scan Policy, including:
- Which web vulnerability checks should run during a scan
- HTTP connection options
- Predefined form values
- URL rewrite rules
- Autocomplete options
- Crawling and attacking options
- What reports should be generated
- How issues are managed
What you configure in the Scan Policy can have an impact on the duration of a scan, so it is important to optimize your Scan Policies.
The main advantages of having Scan Policies are:
- Web application security scans take much less time to complete
- Less bandwidth is consumed during a scan
- Much less stress is generated on the web application
- They can be reused in future scans, rather than reconfiguring each time
- You can disable the web security checks that are irrelevant to your scenario
For further information, see Scan Policy Optimizer and Configuring Scan Policies.
Built-in Scan Policies
Built-in Scan Policies cannot be modified or deleted. However, you can clone a built-in Scan Policy and modify the clone.
Acunetix 360 has the following built-in Scan Policies:
- Default Security Checks (Built-in) includes all Acunetix 360 security checks (ideal if you are not familiar with the target web application)
- Default Security Checks + DOM XSS (Built-in) includes recommended security checks and DOM XSS checks
- Extensive Security Checks (Built-in) contains all the security checks included in the All Security Checks scan policy and some additional attack patterns that are uncommon, edge case scenarios, including checks for DOM XSS vulnerabilities and Local File Inclusion), and tends to take a considerable amount of time because of the nature of such checks
- OWASP Top 10 2021 Checks (Built-in) is a scan policy for OWASP Top 10 2021 vulnerabilities. (This is only available in the Acunetix 360 On-Demand.)
- OWASP Top 10 Checks (Built-in) is a scan policy for OWASP Top 10 Vulnerabilities (for further information, see OWASP Top 10 Compliance with Acunetix)
- OWASP API Top 10 2019 Checks is a scan policy for OWASP API Top 10 Vulnerabilities.
- PCI Checks (Built-in) is a scan policy for PCI classified vulnerabilities (for further information, see PCI Scanning in Acunetix 360)
- DVWAOptimizedLowPolicy is a scan policy to scan DVWA by using Acunetix 360.
- DVWAOptimizedMediumPolicy is a scan policy to scan DVWA by using Acunetix 360.
- DVWAOptimizedHighPolicy is a scan policy to scan DVWA by using Acunetix 360.
How to use built-in scan policies in Acunetix 360
- Log in to Acunetix 360.
- From the main menu, click Scans, then New Scan. The New Scan window is displayed.
- From the General tab, in the Scan Policy section, click the dropdown.
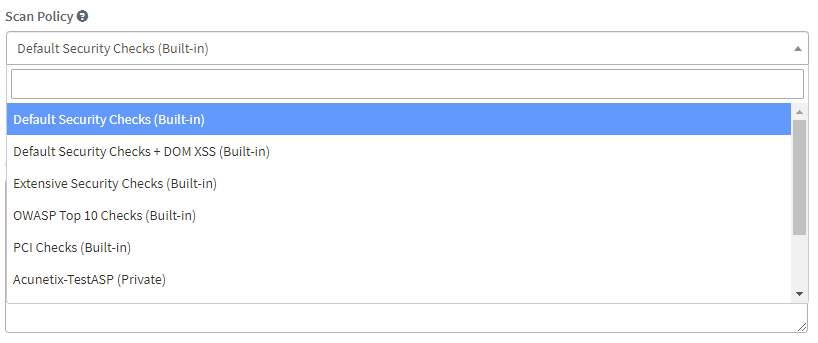
- Select the Scan Policy you want to use.
Setting a scan policy as the default scan policy
You can set one of your scan policies as the default in Acunetix 360, so you or your team members can select this scan policy easily. If required, you can select a scan policy other than the default policy to launch a scan.
- You can set a default scan policy from your shared scan policies.
- You can edit your default policy but cannot set it as private or delete it. To delete, first, you must remove its default status from that scan policy.
- You can continue using the default scan policy even if a user that created the policy is no longer a part of your team or company.
- This feature is only available in Acunetix 360 On-Demand.
For further information about configuring scan policies, see Configuring Scan Policies.
How to set a scan policy as the default
- Log in to Acunetix 360.
- From the main menu, select Settings > General.
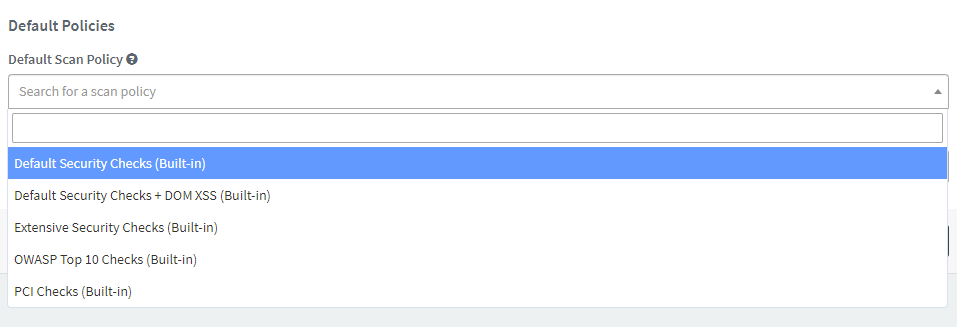
- From the Default Scan Policy drop-down menu, select a scan policy you want.
- Select Save.
