Scheduling scans
Acunetix 360 enables you to schedule scans in advance. This includes full and incremental scans, one-off and recurrent scans, individual scans, and group scans. You can schedule a scan with any start time and have it repeated on a fixed or customized basis.
This document explains how to:
TIP: For instructions on how to schedule an incremental scan, refer to Setting up incremental scans. |

How to schedule a full scan
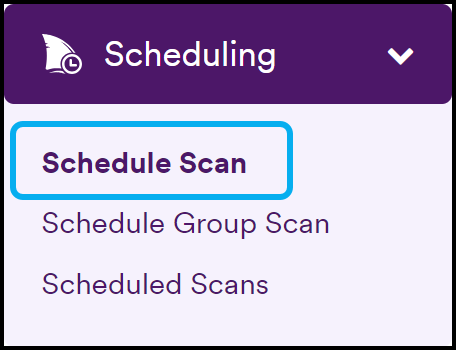
- Select Scheduling > Schedule Scan from the left-side menu. The New Scheduled Scan page is displayed.
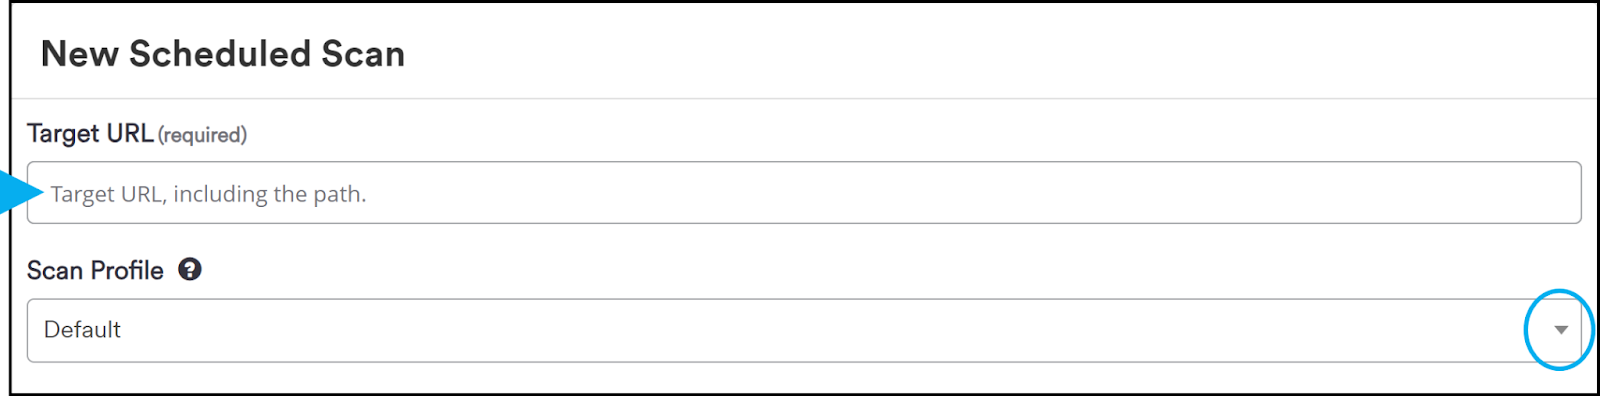
- Enter the Target URL and Scan Profile. For more information about these fields, refer to the Creating a New Scan documentation.
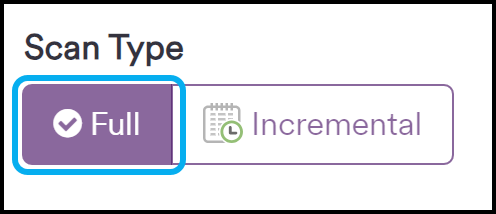
- In the Scan Type field, select Full (default).
- In the Scheduling Options section:
- Enter a Name for your scan.
- In the Start Time field, select the date and time when you want the scan to begin.
- Click the Schedule drop-down and select a frequency for the scan to run.
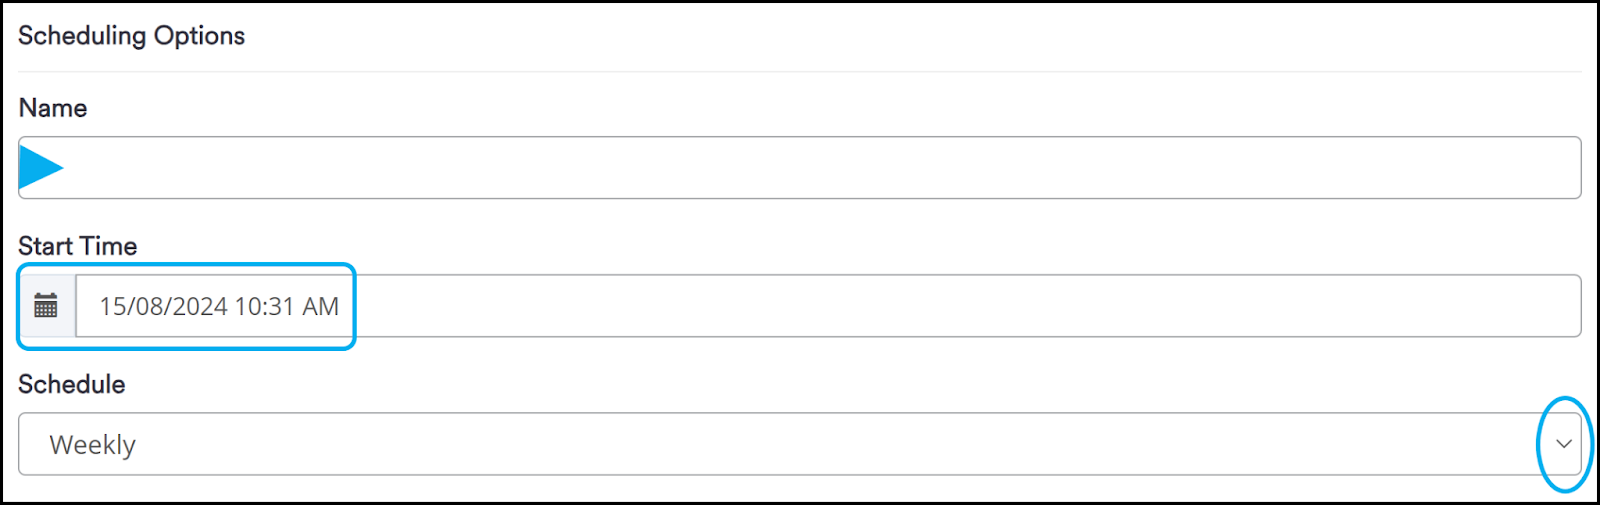
TIP: You can configure a bi-weekly schedule using the Custom option. |

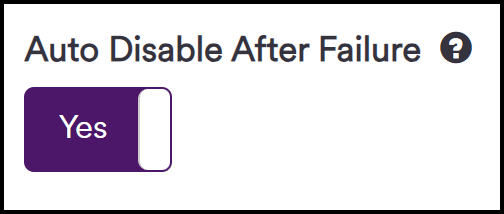
- Optionally, click the toggle to turn off the default Auto Disable After Failure setting. When this setting is on (Yes - the default option) if your scheduled scan fails five times in a row it will be automatically disabled. If this occurs, you can re-enable the scan on the Scheduled Scans page.
- Complete the remaining Scan Options as outlined in Acunetix 360 Scan Options Fields.
- Click Schedule.

Your full scan is now scheduled and listed on the Scheduled Scans page. Your scheduled scan will begin automatically on the date and time you specified and run according to your chosen frequency.
TIP: When scheduling scans, we recommend also reviewing our Best practices for creating effective scan schedules. |

How to create a scheduled group scan
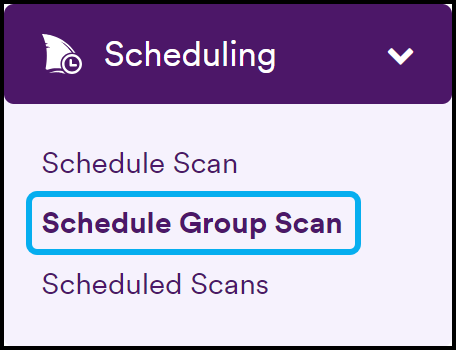
- Select Scheduling > Schedule Group Scan from the left-side menu. The New Scheduled Group Scan page is displayed.
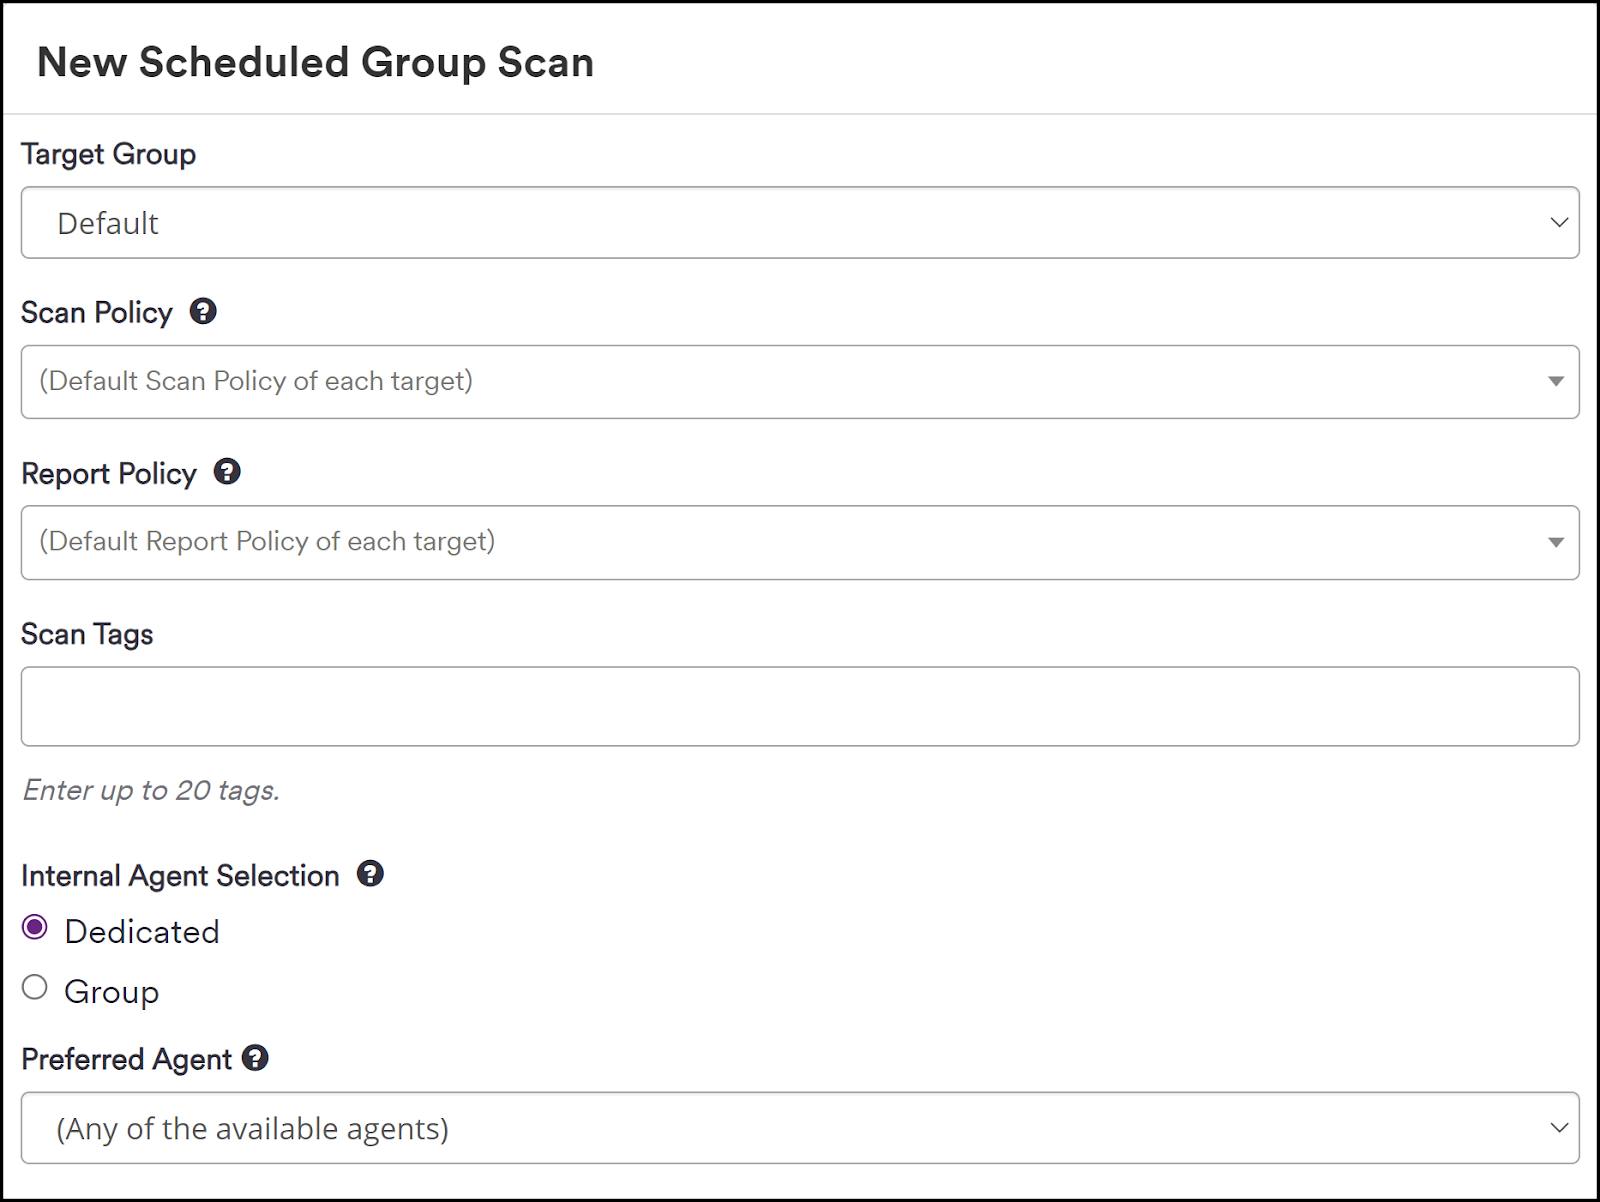
- Complete the following fields as outlined in How to Run a Group Scan in Acunetix 360:
- Target Group: Select the target group name that you want to scan.
- Scan Policy: Select a scan policy to apply. This determines which security tests are performed.
- Report Policy: Select a report policy based on how you want the scan results reported.
- Scan Tags: Optionally, enter up to 20 tags to label or provide additional context to the scan. For more information, refer to Tagging in Acunetix 360.
- Internal Agent Selection: Select the type of agent that will run the scan.
- Preferred Agent: Select an Agent or Agent Group.
- In the Scheduling Options section:
- Enter a Name for your scan.
- In the Start Time field, select the date and time when you want the scan to begin.
- Click the Schedule drop-down and select a frequency for the scan to run.

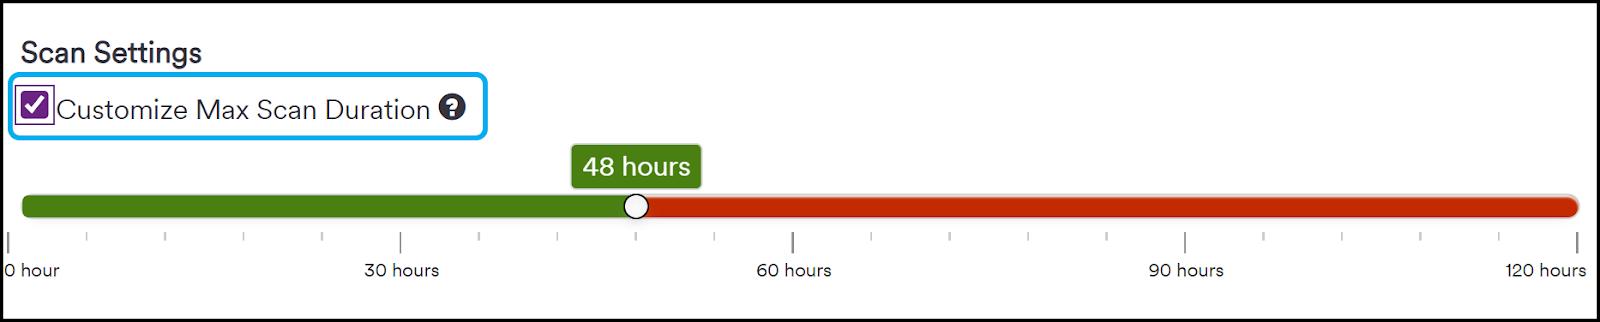
- Optionally, click the checkbox next to Customize Max Scan Duration to set a maximum number of hours in which the scan must be completed.
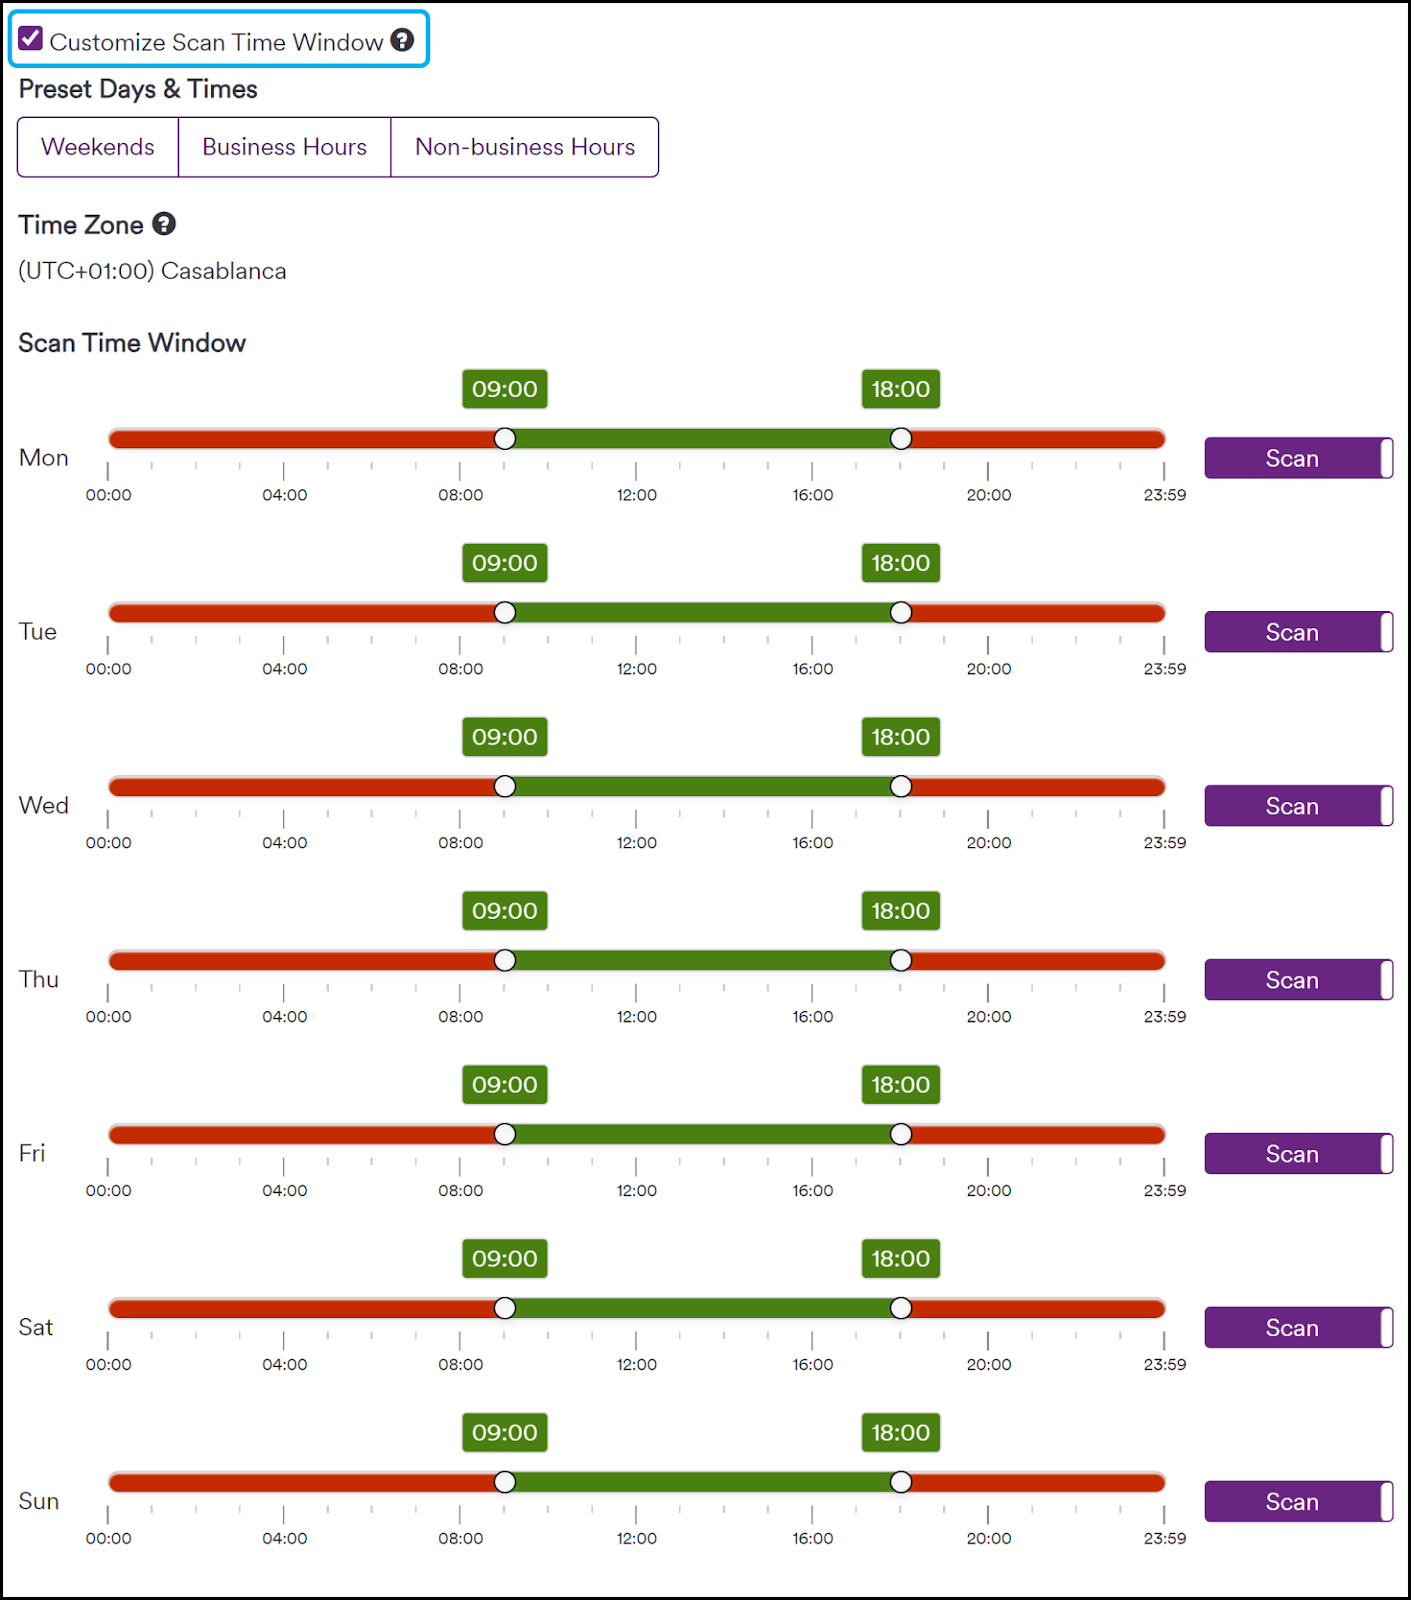
- Optionally, click the checkbox next to Customize Scan Time Window to set specific time periods when the scan is allowed or not allowed to run.
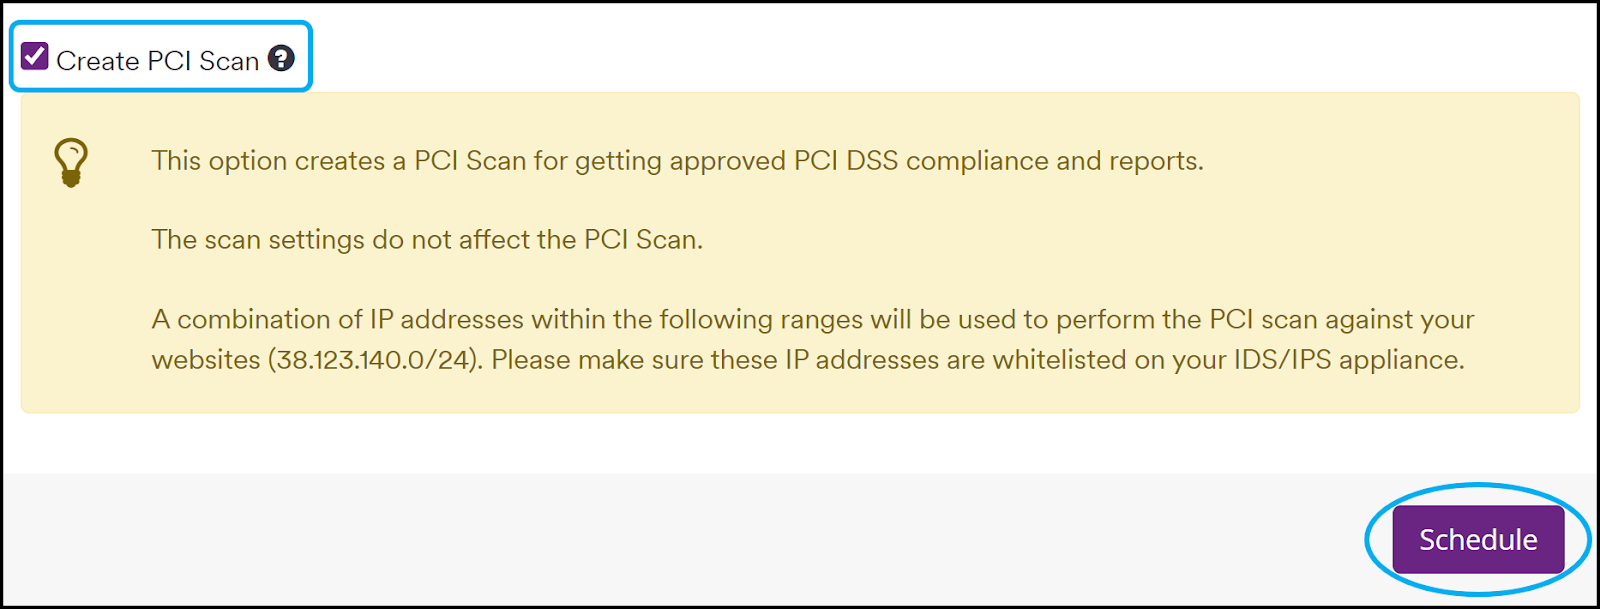
- If required, click the checkbox next to Create PCI Scan. For more information about PCI scans, refer to our PCI DSS Scanning documentation.
- Click Schedule.
Your group scan is now scheduled and listed on the Scheduled Scans page. Your scheduled scan will begin automatically on the date and time you specified and run according to your chosen frequency.
How to convert a completed scan into a scheduled scan
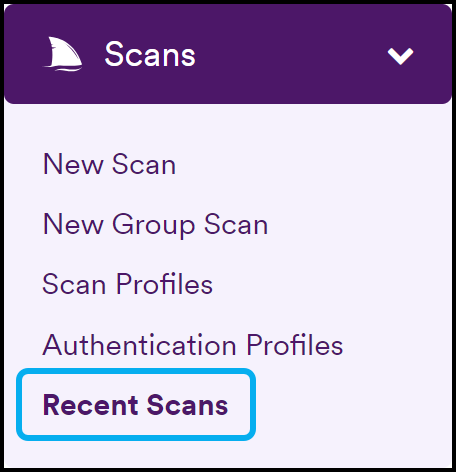
- Select Scans > Recent Scans from the left-side menu. The Recent Scans page is displayed.
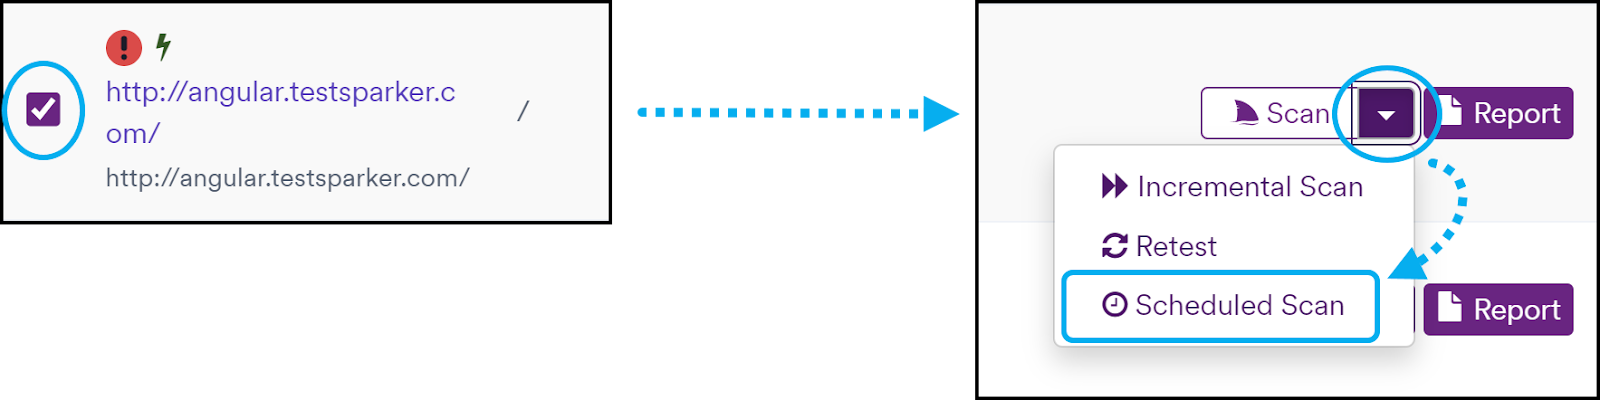
- Click the checkbox next to the scan you want to convert, then click the Scan dropdown and select Scheduled Scan. The New Scheduled Scan page is displayed, with the original Scan Options already configured.
- Complete the remaining Scheduling Options fields as explained above in the How to schedule a full scan section of this document.
- Click Schedule.