Security Checks
In Acunetix 360, you can select the security checks you want to run in a web application security scan. If you use a Default Scan Policy, the default security checks cannot be modified or deleted. But if you configure a new scan policy, you can disable the security check that are irrelevant to you.
By default, most of the security checks are enabled. Newly available Security Group Checks will be enabled automatically. There are no settings available for some of the security check groups. With other groups, you can filter for specific checks within that group.
Here are some security checks that have additional options you may want to configure:
For further information, see Scan Policy Fields.
How to configure security check options in Acunetix 360
- Log in to Acunetix 360.
- From the main menu, click Policies, then New Scan Policy.
- Select the Security Checks tab.
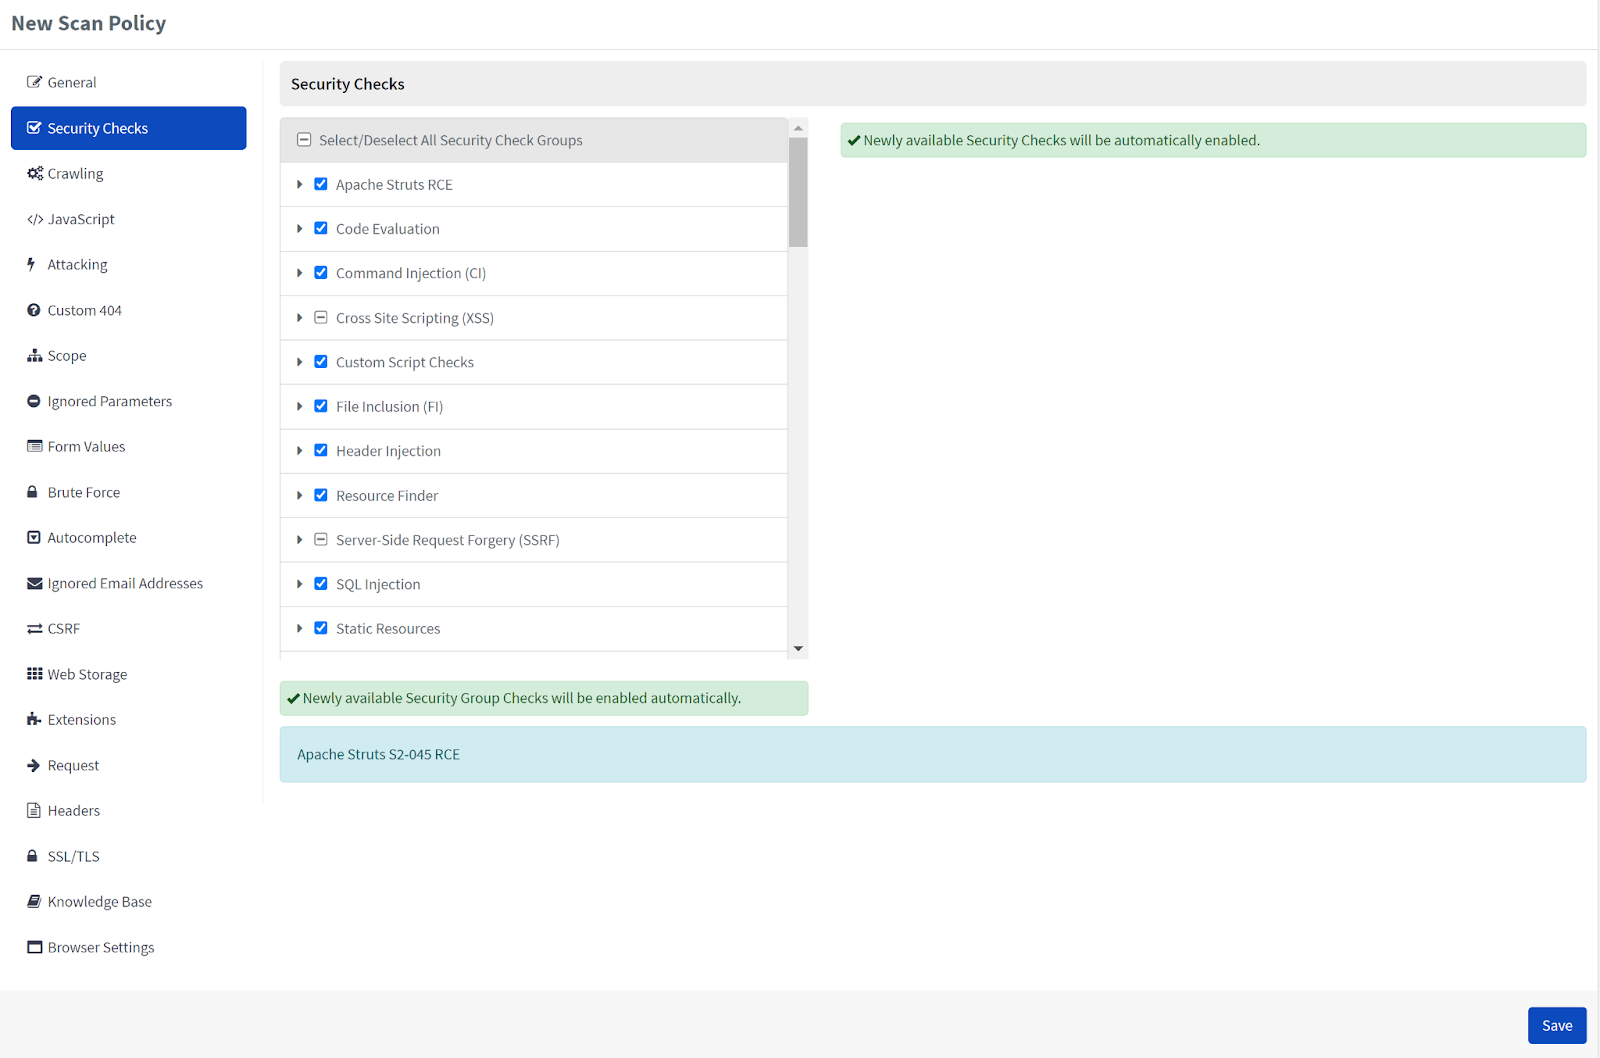
- In the Security Checks tab, select each Security Check category to view help text in the UI.
- Select the relevant security check.
- Deselect the checkboxes you don't require.
- If the security check has group settings, configure as required.
- Click Save.