Database Settings
In the Database Settings window, you can verify the database you have connected. You can also check the credentials, set limits on the Maximum Connection Pool Size, and encrypt the connection.
If you change the database you have connected, your session is no longer valid and the system will sign you out.
Database Settings is available in the Acunetix 360 On-Premises edition only.
For further information, see Overview of Settings in Acunetix 360 and Comparison Between Acunetix 360 and Acunetix 360 On-Premises Editions.
Database Settings Fields
This table lists and explains the fields in the Database Settings window.
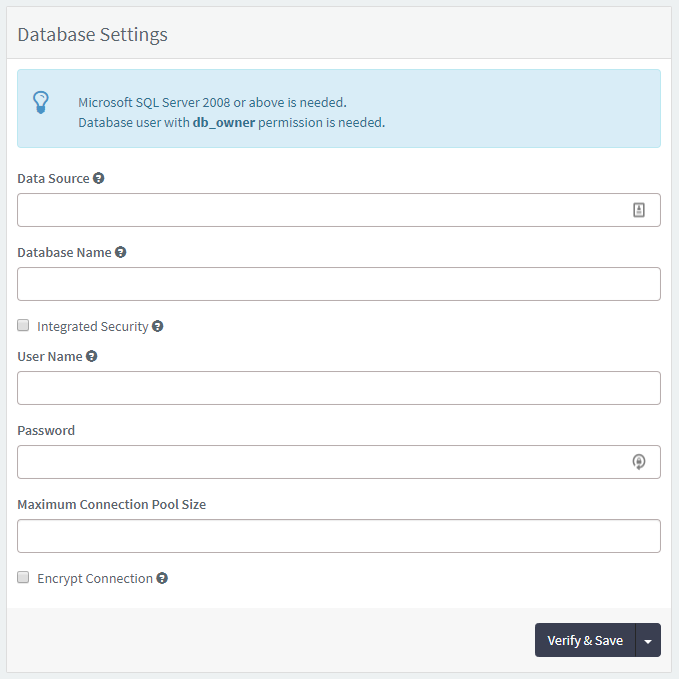
Field | Description |
Data Source | This is the name or network address of the correct instance of the SQL Server to connect. If there is an instance name, specify a name like 'server/instance' or the IP address. |
Database Name | This is the name of the database associated with the connection. |
Integrated Security | Select to use Windows integrated authentication for database access, if your application runs on a Windows-based intranet. Integrated security uses the current Windows identity established on the operating system thread to access the SQL Server database. |
User Name | This is the database username. The user needs to have at least db_owner permission for the database. |
Password | This is the database user's password. |
Maximum Connection Pool Size | This is the maximum number of connections Acunetix 360 can open to the database. |
Encrypt Connection | Select to enable SSL encryption for all data sent between the client and the server. |
How to Configure Database Settings
- From the main menu, click Settings, then Database. The Database Settings window is displayed.
- In the Data Source field, enter the server's name or network address.
- In the Database Name field, enter the name of the database.
- In the Integrated Security field, check the box to enable Windows integrated authentication. Skip to step 7, as the User Name and Password fields will not display.
- In the User Name field, enter the user name.
- In the Password field, enter the password.
- In the Maximum Connection Pool Size field, enter a number.
- In the Encrypt Connection field, check the box to enable data encryption in transmission.
- Click Verify & Save to proceed with the verification process. Alternatively, click the dropdown arrow and click Save to skip the verification process.