IP Restrictions Settings
IP Address Restrictions is a feature that allows organizations to restrict from which IP Addresses users can access the Acunetix 360 dashboard, which enhances the security of the solution.
- Once it is enabled, anyone trying to log in to Acunetix 360 from an IP Address that is not in the Trusted IP Addresses list is denied access.
- This feature is also included in the Acunetix 360 On-Premises edition. This IP Address Restrictions feature is disabled by default.
Only account administrators can enable or disable IP Address Restrictions in Acunetix 360.
Warning The IP Address Restrictions setting affects the Agents as well. |

For further information, refer to Overview of Settings in Acunetix 360.
How to enable IP Restrictions
- From the main menu, select Settings > IP Restrictions.
- On the IP Address Restrictions page, enable the Enable IP Restrictions checkbox.
- Select +New. A new row is displayed.

- Enter IP Addresses to the IP Addresses field.
- Your IP address is shown in the sidebar. We highly recommend adding it in first, in order to avoid getting locked out of your account.
- You can add multiple IP addresses using commas to separate them. This is useful in cases where the application needs to allow access from multiple specific IP addresses.
- IP address ranges can be added using CIDR notation or a hyphen. This is useful in cases where the application needs to allow access from a range of IP addresses.
- Wildcards are not supported.
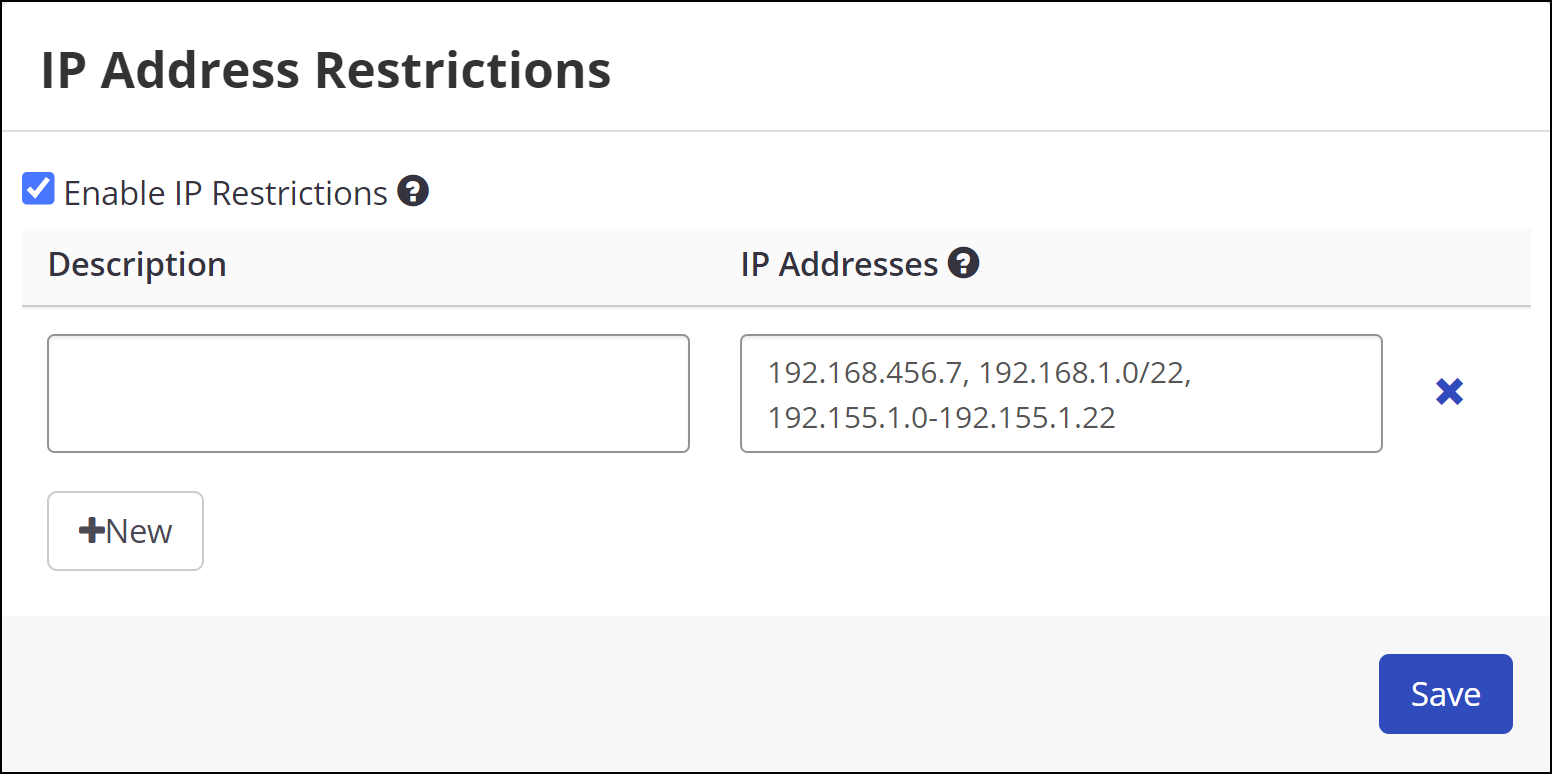
- In the Description field, enter a description, such as Home IP Address and Office IP Address.
- Click Save.
How to delete a Trusted IP Address
- From the main menu, select Settings > IP Restrictions.
- On the IP Address Restrictions page, select Delete next to the relevant IP Address.
- Click Save.