Integrating Acunetix with Mantis
Integrating Acunetix with Mantis is a 4-step process:
- Prepare your Mantis account for integration with Acunetix
- Configure Acunetix for Integration
- Configure Targets to report issues to your issue tracker
- Submit vulnerabilities to Mantis
Prerequisites Before integrating Acunetix with Mantis, ensure you have completed the following preparations:
|

Step 1: Prepare your Mantis account for integration
If you already have a project in Mantis that you want to use to hold issues generated by Acunetix scans, then you can skip to creating an API token.
Create a Project
- From your Mantis sidebar menu, select Manage.
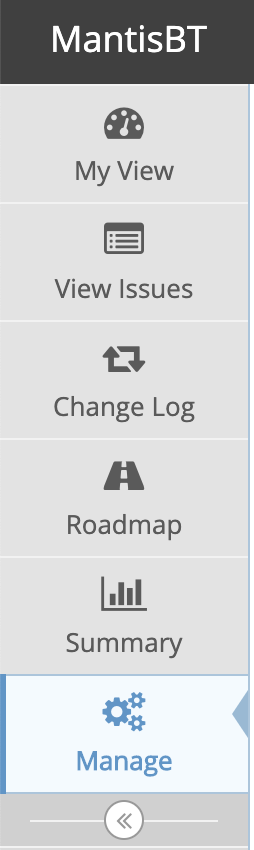
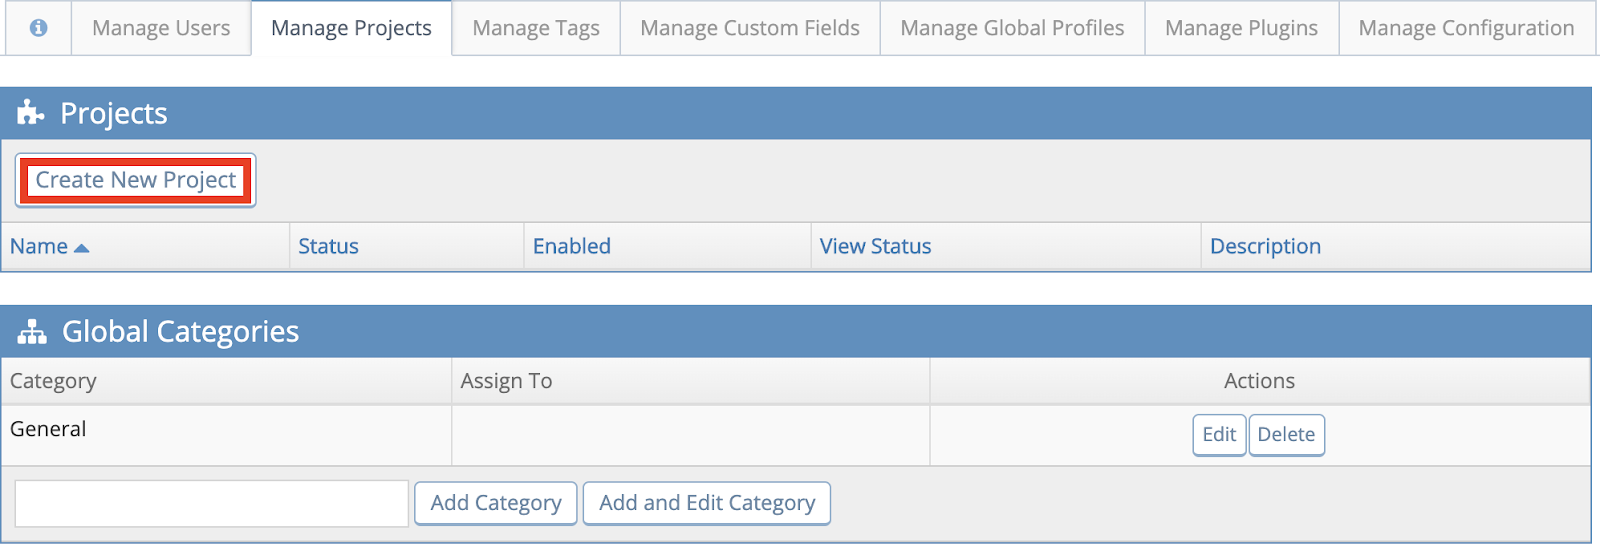
- Select the Manage Projects tab.
- In the Projects panel, click Create New Project.
- In the Add Project panel:
- Enter a Project Name.
- Enter a description for the project.
- In the case of this example, you would leave the other fields at their default values.
- Click Add Project.

Create an API Token for Acunetix Integration authentication
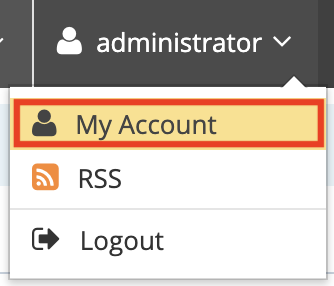
- From your Mantis profile dropdown, select My Account.
- Select the API Tokens tab.
- In the Create API Token panel:
- Set the Token Name field to Acunetix Integration (This is just a name to remind you of its use).
- Click Create API Token.
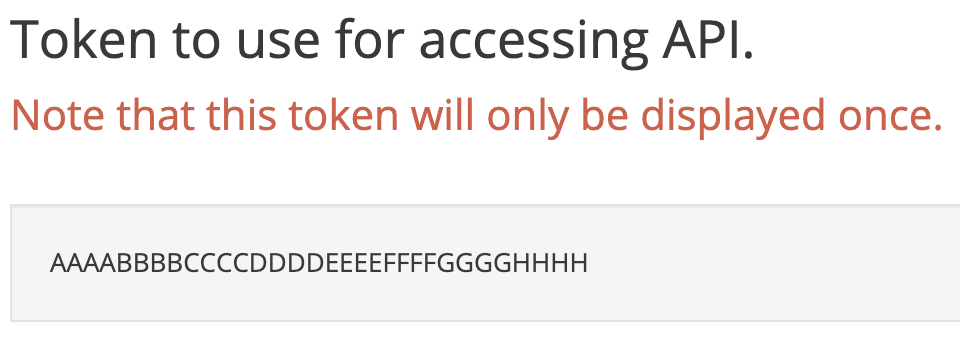
- Ensure you keep a copy of the Token, as it cannot be retrieved after exiting the page. If you lose the Token, you will need to create a new one and repeat the process.
Step 2: Configure Acunetix for Integration
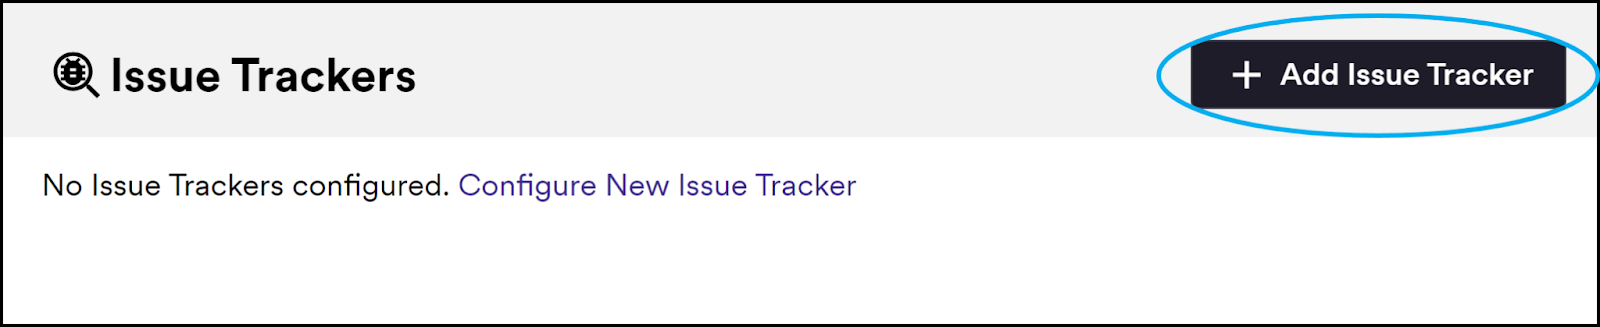
- Log in to Acunetix and select Issue Trackers from the menu.
- Click + Add Issue Tracker
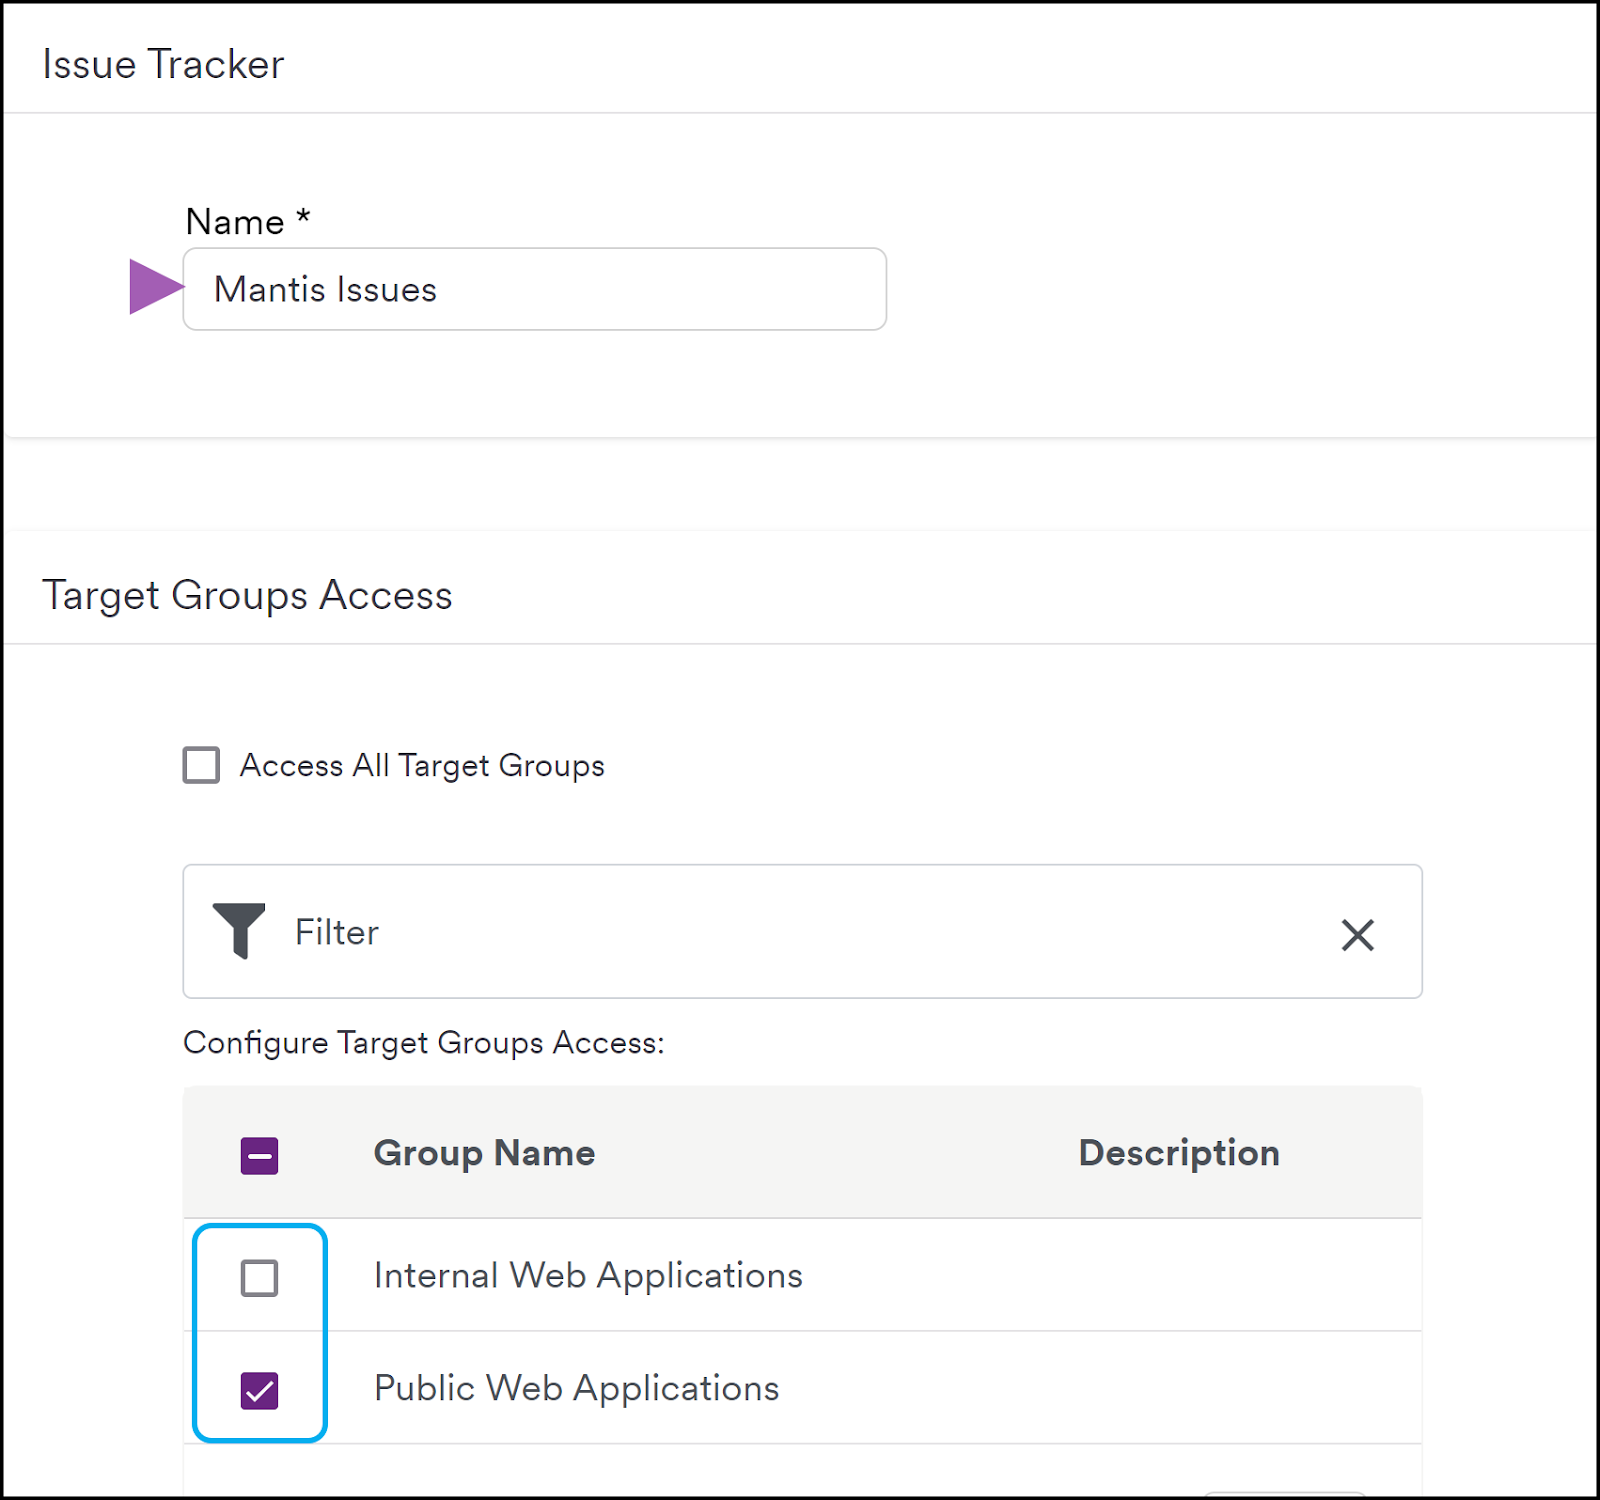
- Set the Name field to describe the integration. For this example, we have used Mantis Issues.
- In the Target Groups Access panel, select which Target Groups will be assigned to the Issue Tracker. Only Targets inside an assigned Target Group can be integrated into this Issue Tracker.
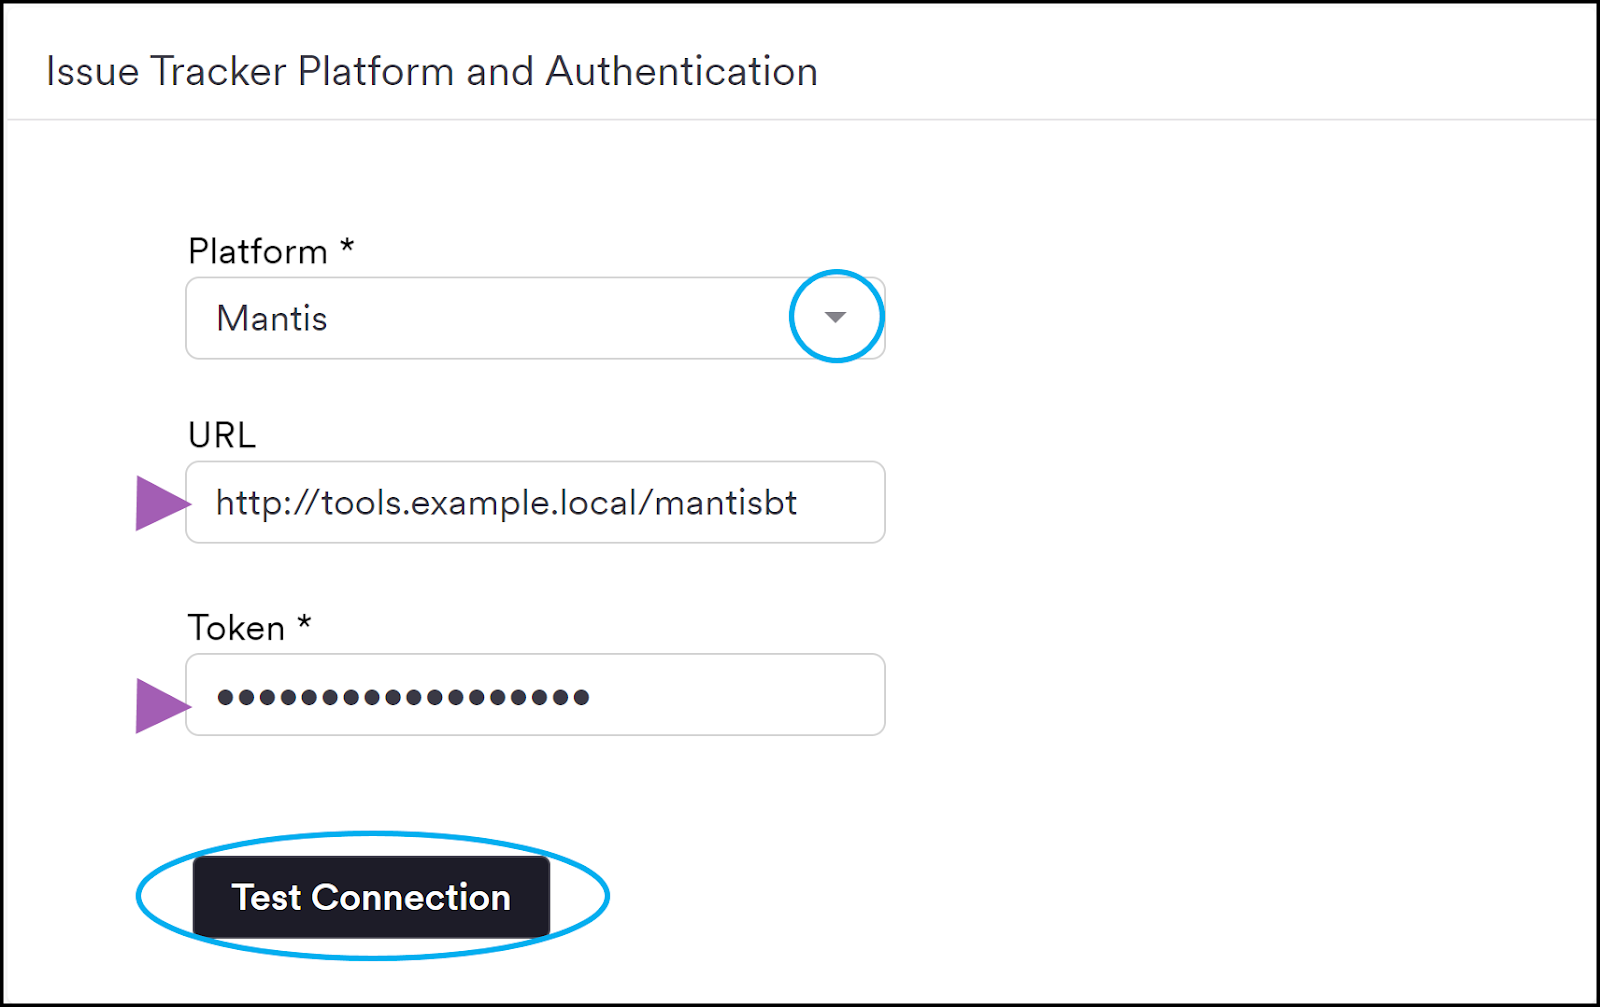
- From the Platform dropdown, select Mantis.
- Set the URL to the base URL for your Mantis deployment. In the example below we used "http://tools.example.local/mantisbt".
- Insert your Mantis API Token into the Token field.
- Click Test Connection. You should receive a Connection is Successful message.
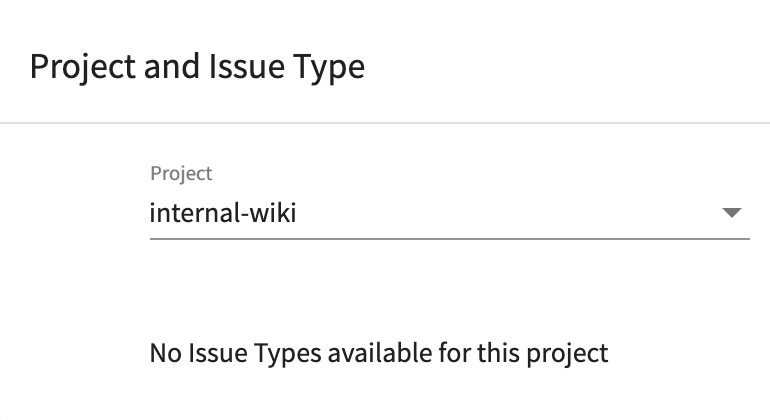
- The Project and Issue Type panel will be updated with your list of Projects.
- Select the Mantis project you want the integration to be linked to. In the example below we've used the pre-created "internal-wiki" project.
- Enter any Custom Fields you would like to link to by adding the Name and Value for each custom field.
- Add any Tags you would like to apply to the integration.
- Click Save at the top of the Add New Issue Tracker page.
Step 3: Configure Targets to report issues to your issue tracker
- Select Targets from the Acunetix side menu.
- Click the Target Address of the Target you wish to work with.
- On the Target Settings page, scroll down and expand the Advanced section.
- Enable the Issue Tracker toggle.
- From the Issue Tracker dropdown, select the name of the Mantis integration configuration you wish to use.

- Click Save at the top of the Target Settings page.
Now that your Target is configured to link to Mantis, proceed to Scan your Target. When the Scan is completed, you will be able to select the Vulnerabilities to submit to your Issue Tracker.
Step 4: Submit vulnerabilities to Mantis
Once you have completed a Scan on your Target, follow the steps below:
- Select Vulnerabilities from the Acunetix side menu.
- Adjust the filter to obtain a shortlist containing the vulnerabilities you wish to send to your Issue Tracker.
- Use the checkboxes to select the vulnerabilities to send to the Issue Tracker.
- Click Send to Issue Tracker.

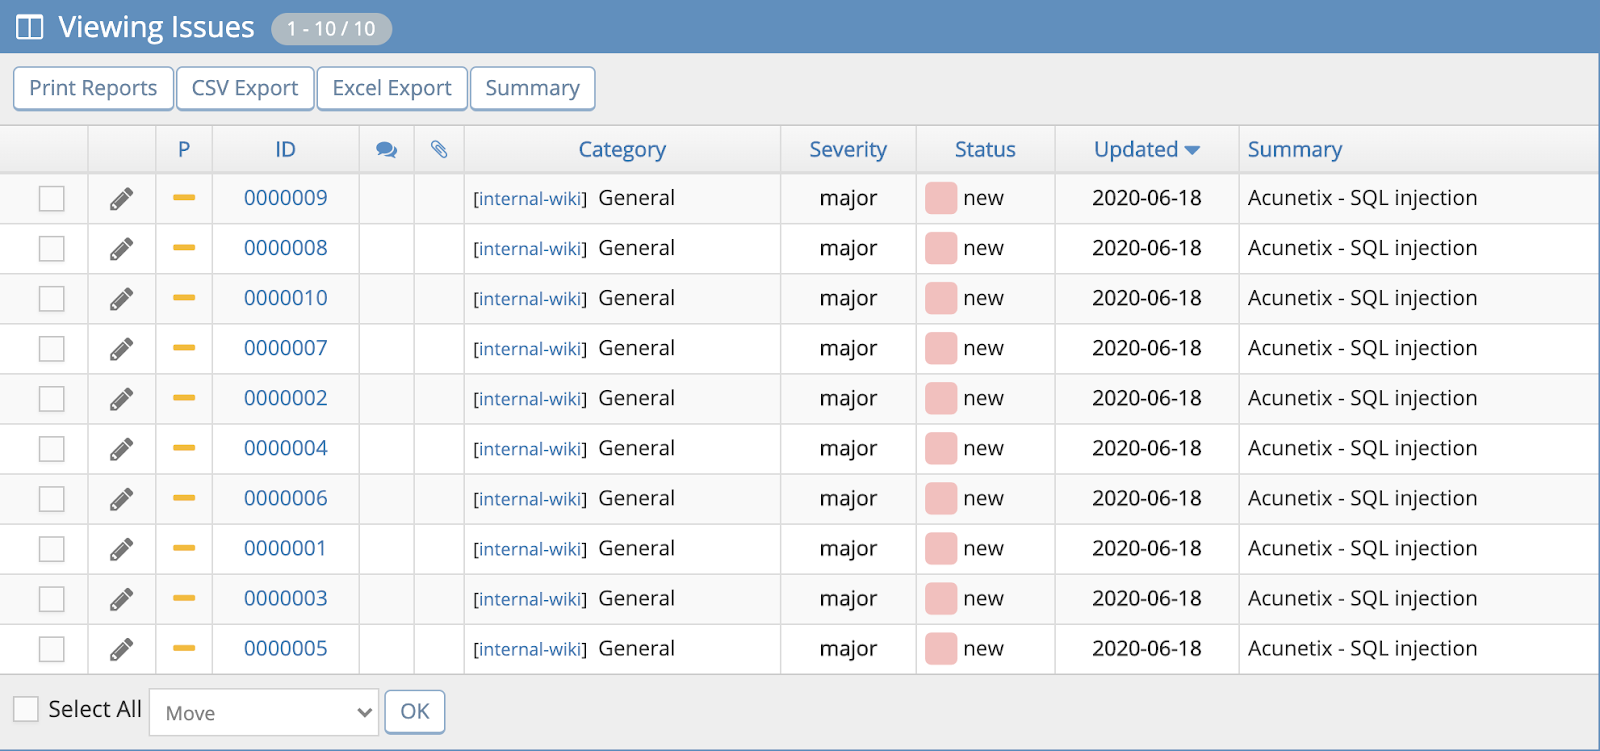
Check your Mantis Issues page
Your Mantis Issues page will display the issues you've submitted to the Issue Tracker.