DVWA is an intentionally vulnerable web application that you can install on your server to test vulnerability scanners or to practice penetration testing. You may want to use DVWA to test the capabilities of the Acunetix vulnerability scanner and compare it to similar tools. This article explains how to set up Acunetix to scan the DVWA application.
Note: DVWA was built for educational purposes and does not accurately represent real-world applications and typical vulnerabilities, and therefore should be used only as part of the assessment of any automated tool.
Download and Install DVWA
- Download DVWA from https://github.com/digininja/DVWA
- Install DVWA on your test server according to the instructions in the DVWA GitHub repository. Ensure that the server is not accessible from the Internet.
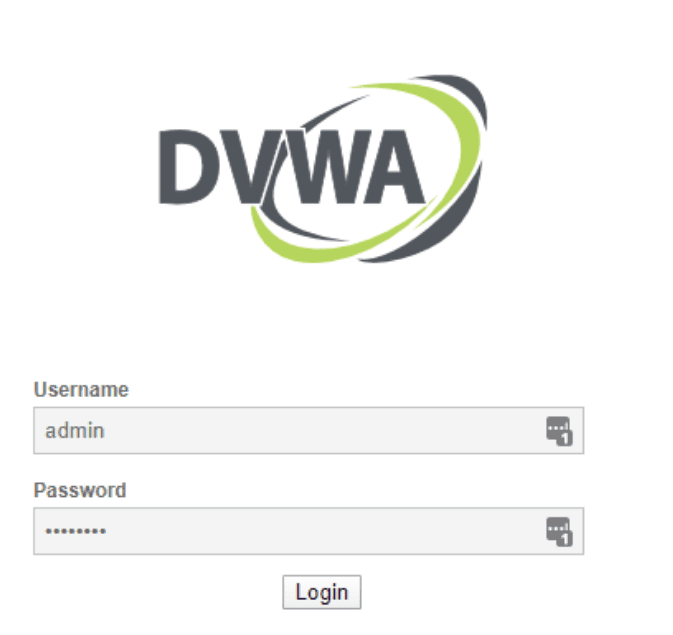
- Test if the DVWA application works correctly by going to the URL and logging in using the username admin and the password password.
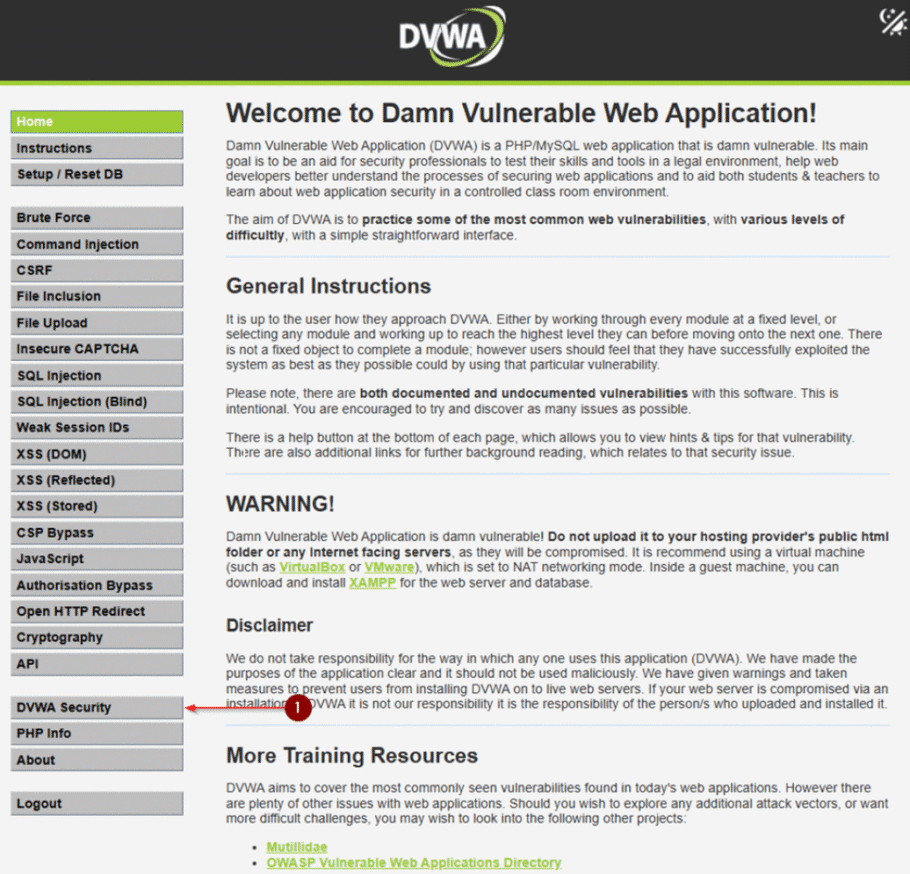
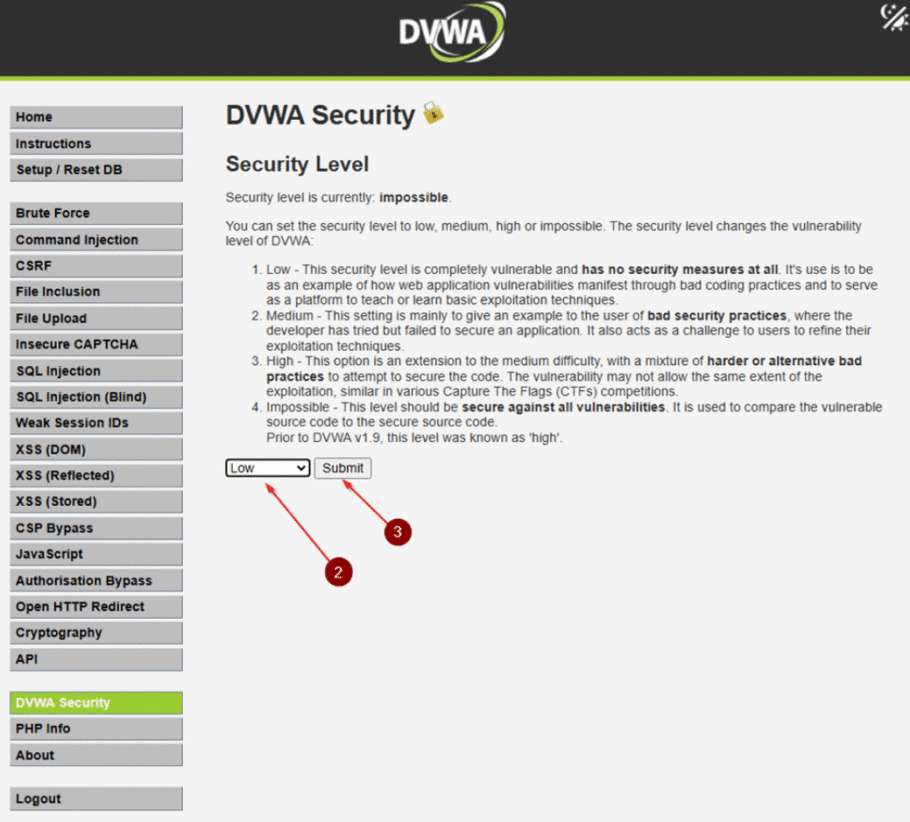
- We have to change the security level before the scan. To do that, navigate to “DVWA Security”, then select “Low” as a security level and submit it.
Configure Acunetix to Scan DVWA
- To add DVWA as a target in Acunetix, select Targets from the left-side menu, then click Add Target.
- Enter your DVWA URL in the Address field and click Save.
- After clicking save, you are taken to the Target settings page. Amend any necessary information.
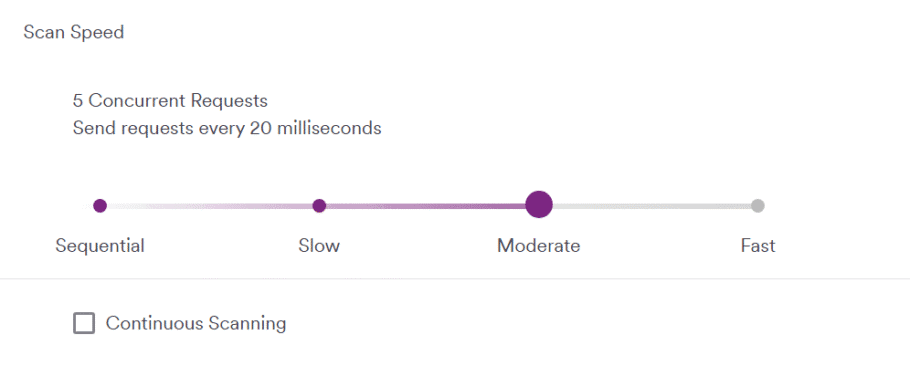
- Set the scan speed from Fast to Moderate.
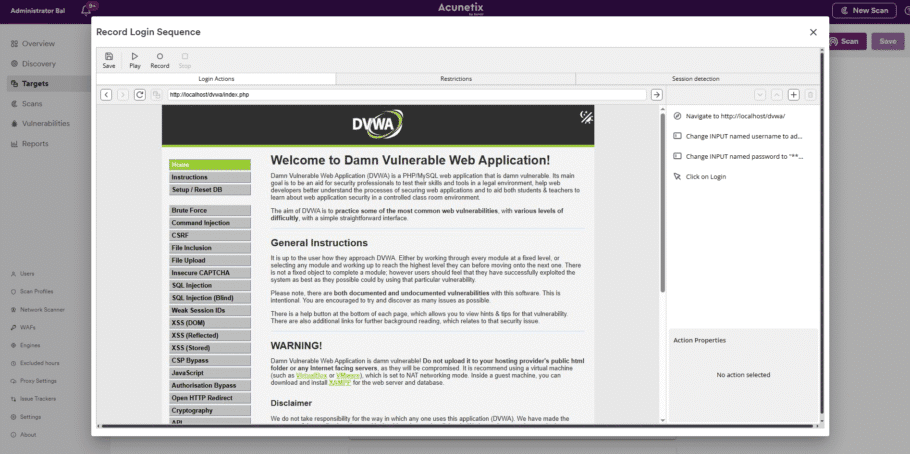
- Enable the Site login toggle and create a new LSR.
- Save it after entering the username and password.
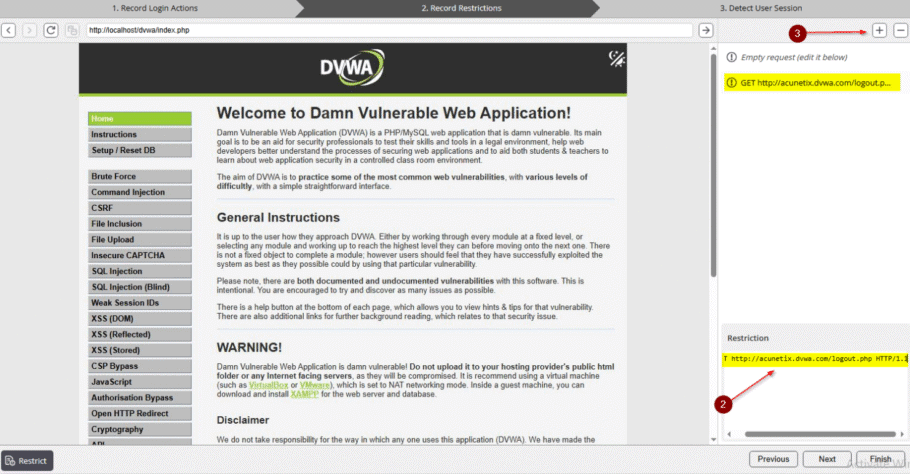
- You can add URLs to Record Restrictions to restrict the scanner from visiting these URLs. Exclusions in the LSR are used to specify what should not be scanned.
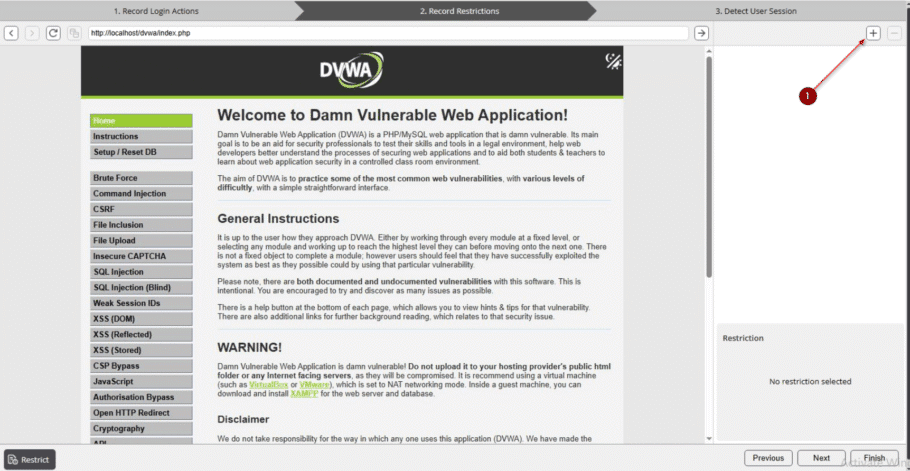
- Add them to there.
- /logout.php
- /security.php
- captcha
- csrf
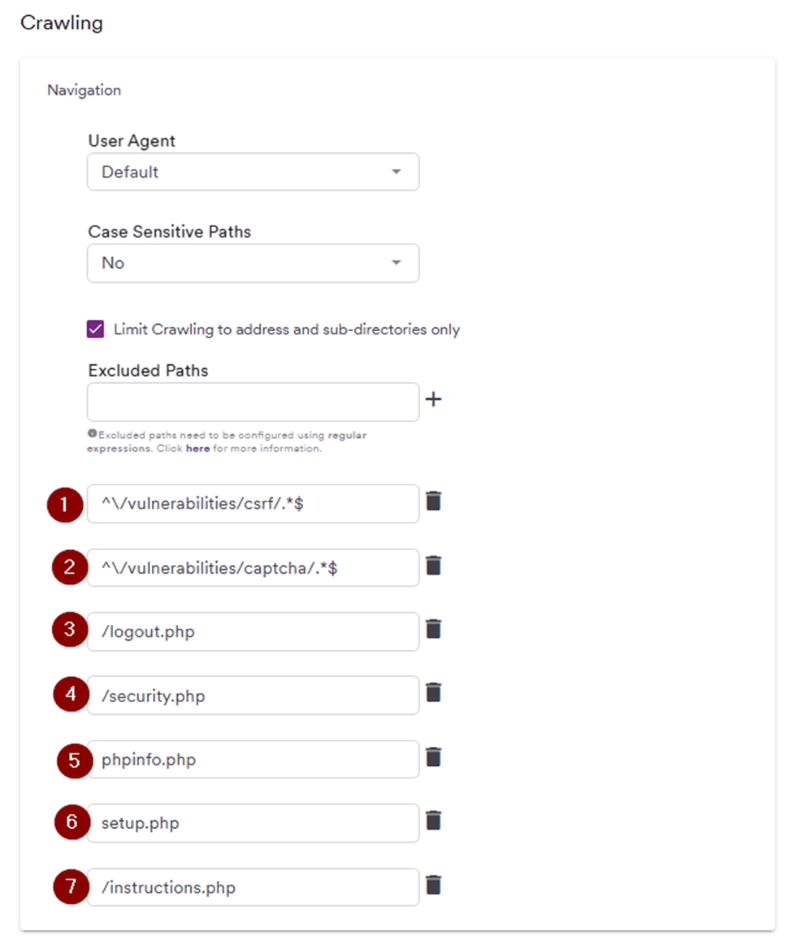
- To improve the scan quality, we need to add the following paths to the Excluded Paths section. Please make sure to include the paths listed below.
/phpinfo.php
/setup.php
/instructions.php
^\/vulnerabilities/csrf/.*$
^\/vulnerabilities/captcha/.*$
view_source\.php
view_help\.php
about*.php
brute
weak_id
view_source_all\.php
- Click “Scan” at the top right. A pop-up dialog will appear. Leave all the settings as default and click “Create Scan”.
- Wait for the scan to start successfully and complete.
Get the latest content on web security
in your inbox each week.


