Integrating Acunetix 360 with GitHub
GitHub is a web-based hosting service for version control. GitHub is mostly used for code but it has an issue tracking feature with labels, milestones, assignees and a search engine. Every issue is referenced in a card, which can then be dropped into a repository, used to track the progress of the bug, discuss fixes and assign relevant tasks to teammates.
This topic explains how to configure Acunetix 360 to send a detected vulnerability to GitHub.

For further information, see What Systems Does Acunetix 360 Integrate With?.
GitHub Fields
This table lists and explains the GitHub fields in the New GitHub Integration window.
Button/Section/Field | Description |
Name | This is the name of the configuration that will be shown in menus. |
Mandatory | This section contains fields that must be completed. |
Server URL | This is the GitHub server's project url. Change it for GitHub Enterprise (On-Premise). |
Repository | This is the repository name, which includes the issue. |
Username | This is the name of the user. If you are using a personal access token (see below), leave this field blank. |
Personal Access Token | This is a token that is used for authorization. |
Title Format | This is the string format that is used to create the vulnerability title. |
Optional | This section contains optional fields. |
Labels | These are the issue labels. |
Assignee | This is the user to whom the issue is assigned. |
Organization | This is the organization's name. |
How to integrate Acunetix 360 with GitHub
- Log in to Acunetix 360.
- From the main menu, click Integrations, then New Integration.

- From the Issue Tracking Systems section, click GitHub. The New GitHub Integration window is displayed.
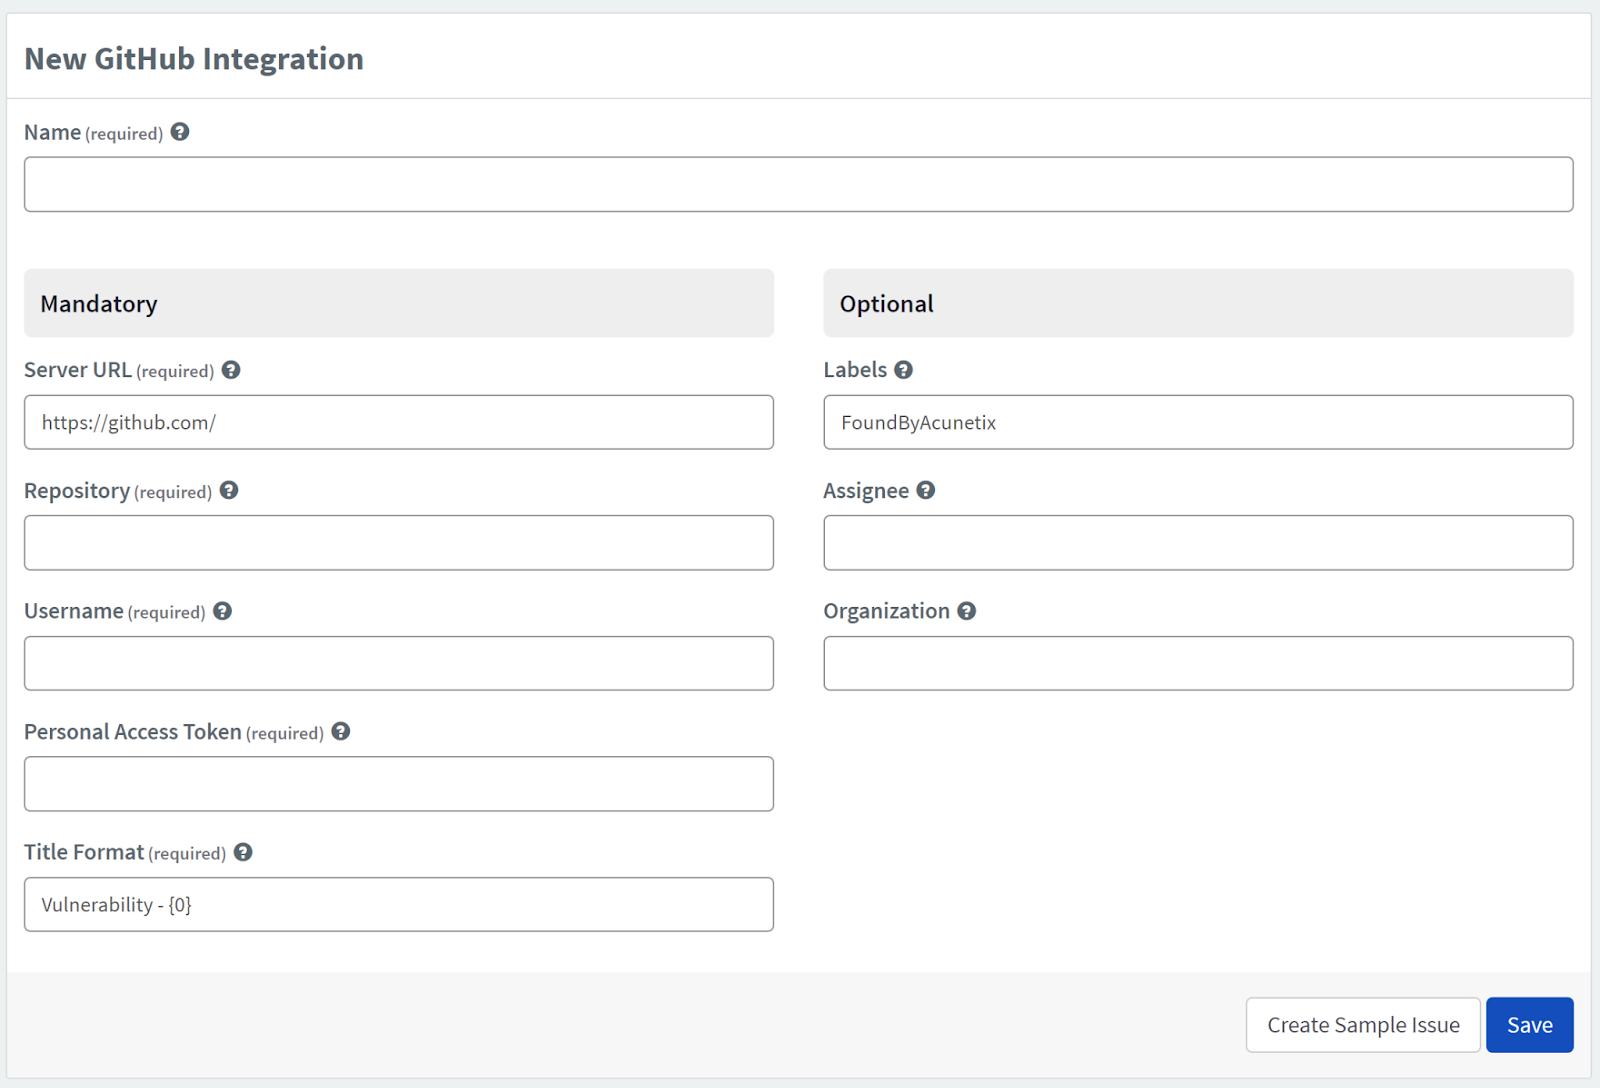
- In the Name field, enter a name for the integration.
- In the Mandatory section, complete the connection details:
- Server URL (Github/Github Enterprise Server URL)
- Repository
- Username
- Personal Access Token
- Title Format
- In the Optional section, complete as required.
- If the Organization name is entered, issues will be sent to that organization's repository.
- Click Create Sample Issue to confirm that Acunetix 360 can connect to the configured system. A confirmation message is displayed to confirm that the sample issue has been successfully created.
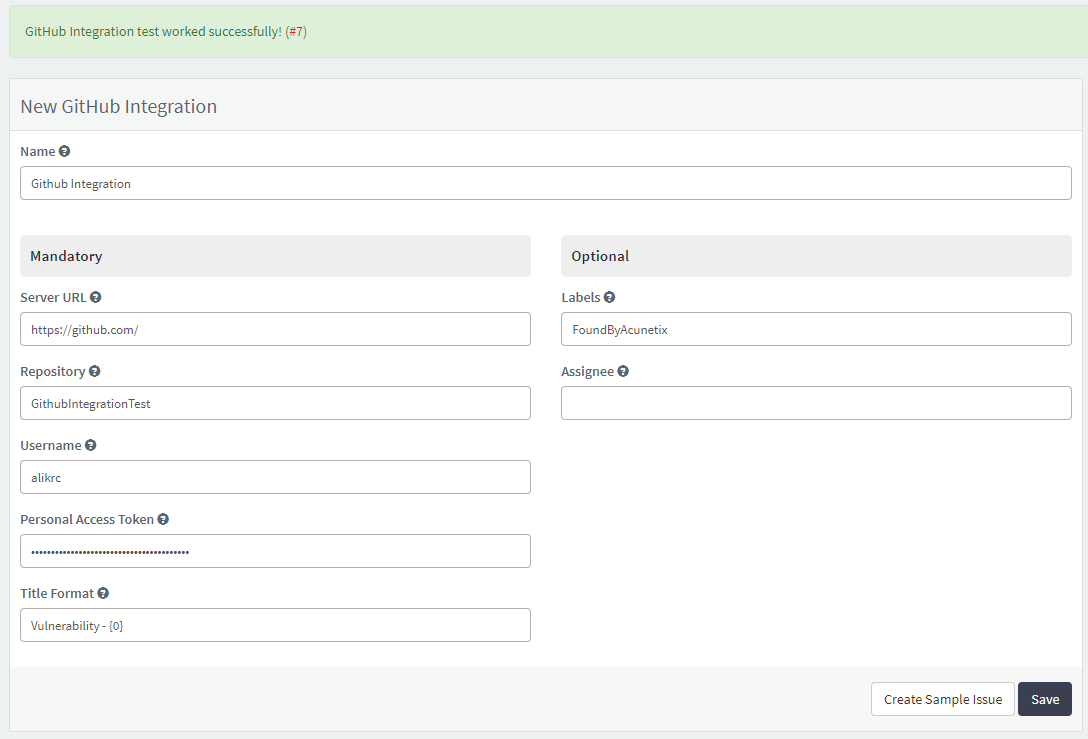
- In the confirmation message, click the Issue number link to open the issue in your default browser.
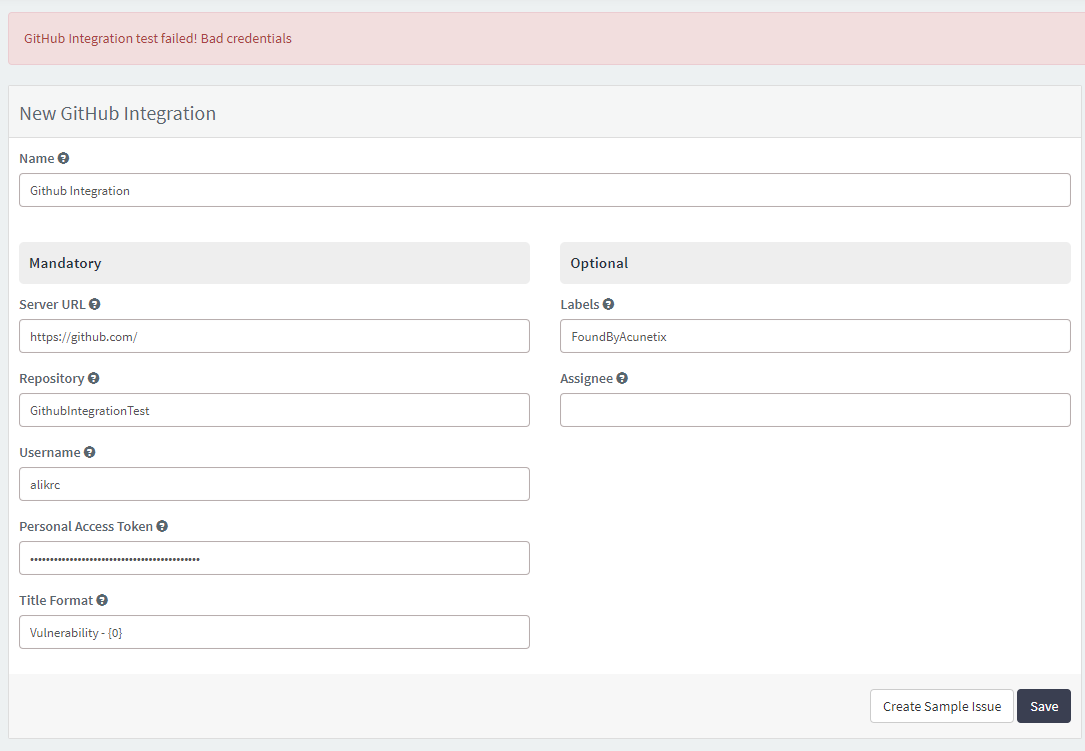
- If the Github integration is not configured correctly, Acunetix 360 will correctly route the following descriptive error messages to you. Here is a sample error message.
- Click Save to save the integration.
How to export reported vulnerabilities to projects in GitHub
There are several ways to send issues to GitHub with Acunetix 360:
- Once notifications have been configured, you can configure Acunetix 360 to automatically send vulnerabilities after scanning has been completed (see How to Configure a Notification to Report Vulnerabilities to an Issue Tracking System).
- You can send one or more issues from the Issues window:
- From the main menu, select Issues, then All Issues. The Issues window is displayed.
- Select one or more issues you want to send.
- Click Send To, then GitHub.
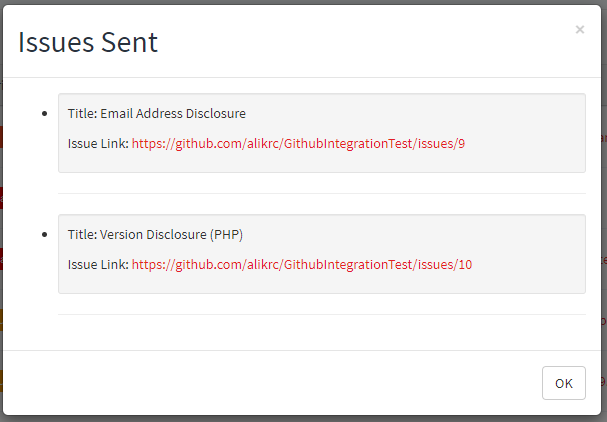
A popup is displayed, with a link to the issue you have sent to GitHub. If there is no error, this information will be displayed instead.
- You can send an issue from the Recent Scans window:
- From the main menu, click Scans then Recent Scans.
- Next to the relevant scan, click Report. The report is displayed.
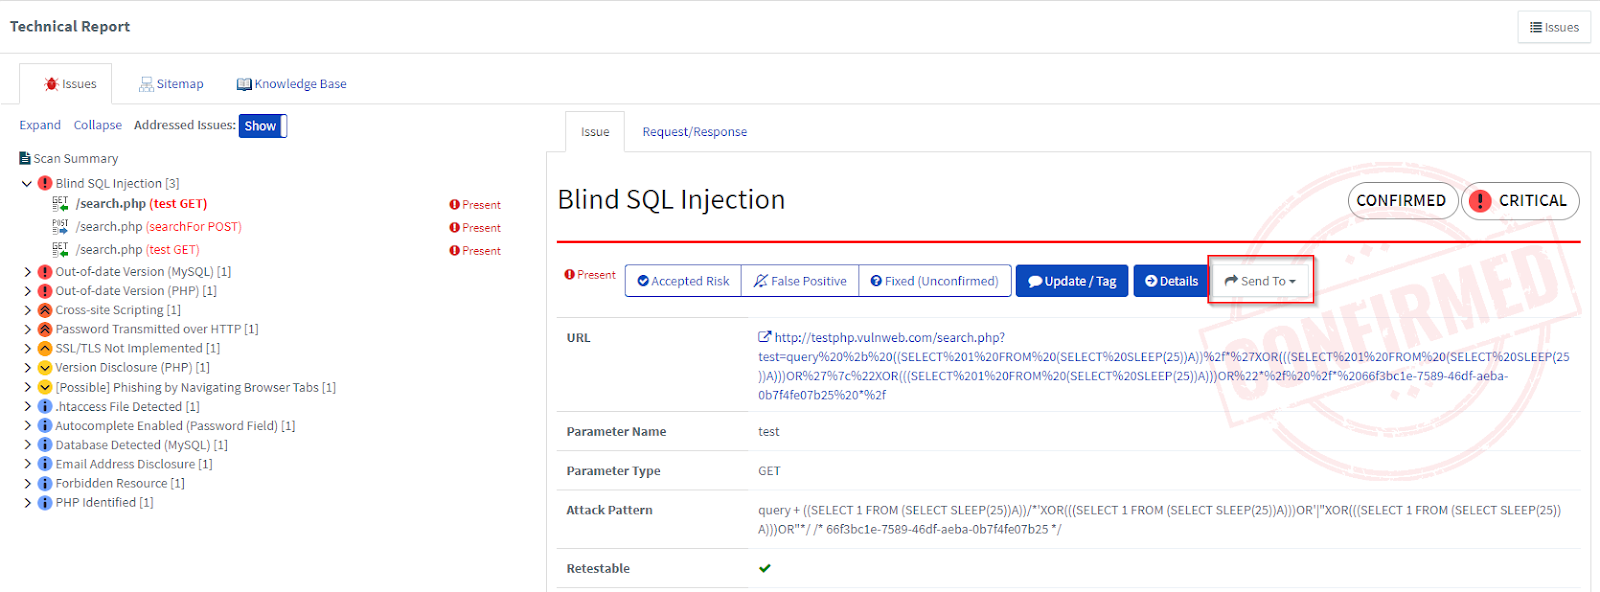
- Scroll down to the Technical Report section.
- From the list of detected vulnerabilities, click to select an issue and display its details.
- Click Send To, then GitHub.
Tips If you have previously submitted this vulnerability to GitHub, it will already be accessible. You cannot submit the same issue twice. |

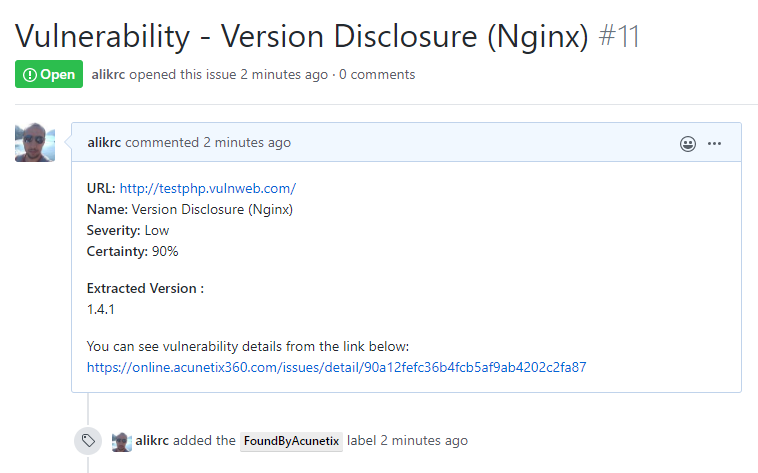
- If you view opened problem logs in GitHub, they look like this.