Featured Documentation Videos

Acunetix Premium Demo
Watch this Acunetix Premium demo video that takes you on a tour of the tool. Get an overview of its powerful features, such as the macro recorders, the AcuSensor IAST component, a stack of integrations, and more..
Watch
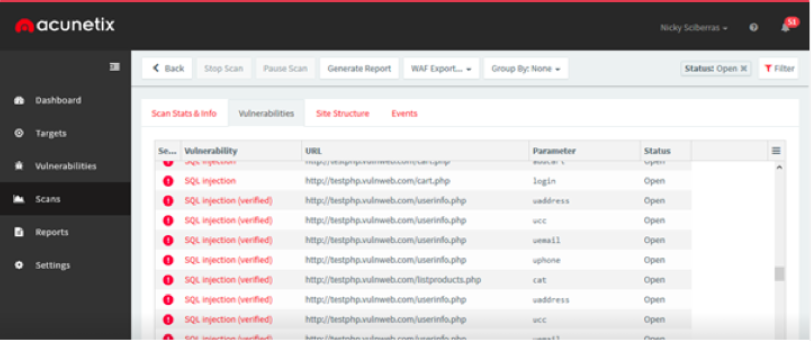
Acunetix Premium Scans and Vulnerabilities Analyzing Results
Watch this video to see how to analyze the results of a scan in Acunetix Premium. Learn how to filter your results and how to interpret information.
Watch
Acunetix Premium Targets Setting Up and Launching a Scan
Watch this video to see how to set up and launch a scan in Acunetix Premium. Learn how to select scan targets and customize scans.
WatchFeatured Product Articles
Why Are Some Vulnerabilities Marked as Verified?
Starting from Acunetix Version 12 (build 12.0.190325161), Acunetix marks some...
Read more
Migrating Acunetix On-Premise to Another Server
This article explains the steps that you should take to migrate Acunetix On-Premise to another...
Read more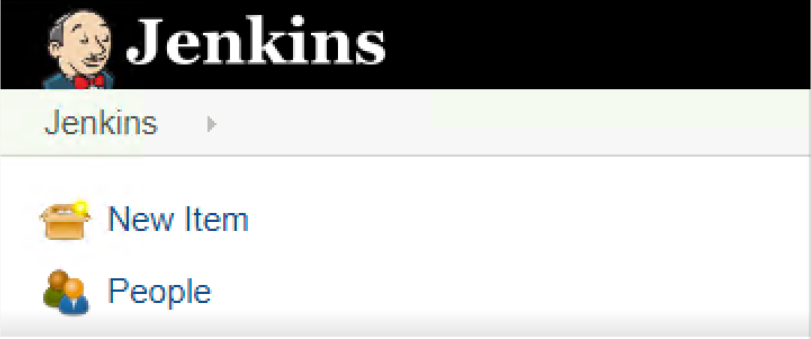
Step by Step Configuration of Acunetix with Jenkins
Acunetix offers out-of-the-box integration with Jenkins CI. The setup procedure requires the...
Read more